

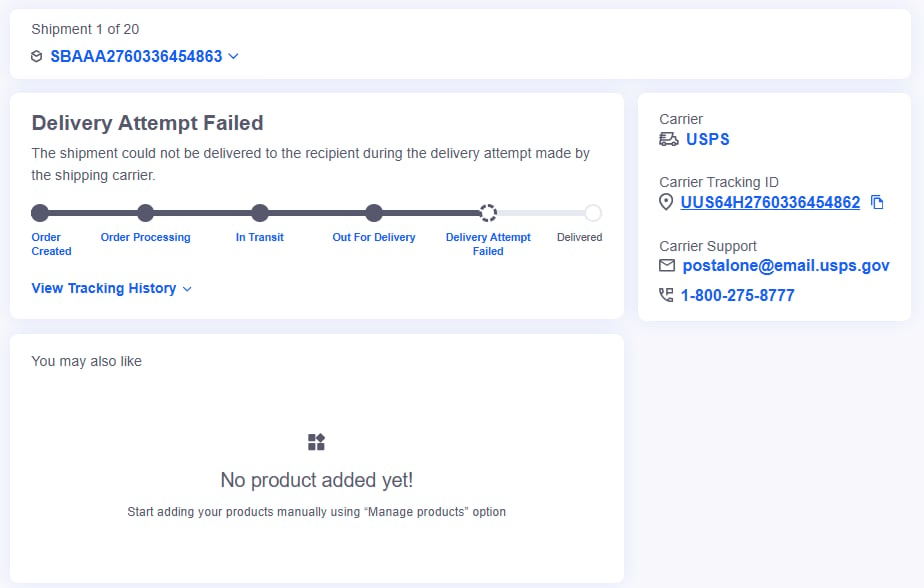
The premium Branded Tracking page builds on the standard Branded Tracking Page and turns it into a fully branded experience that you control. This guide covers how to request access, how to customize the theme, promotional banners, product recommendations, and footer, how to read the analytics, and answers to common questions.
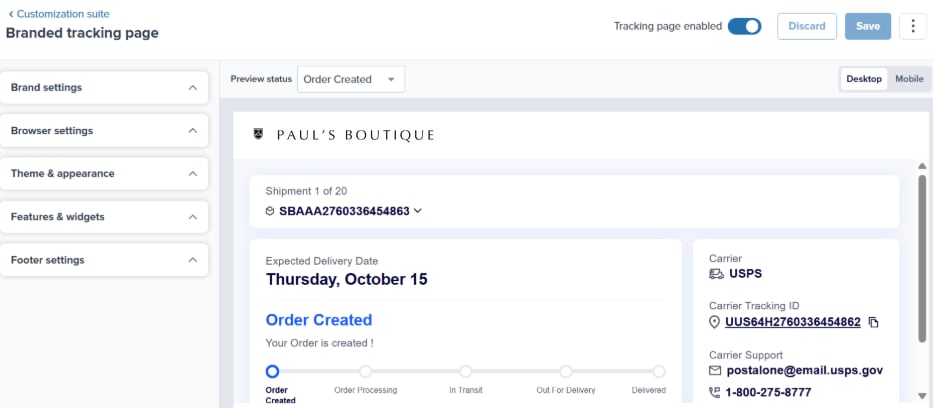
What the Premium Page Adds
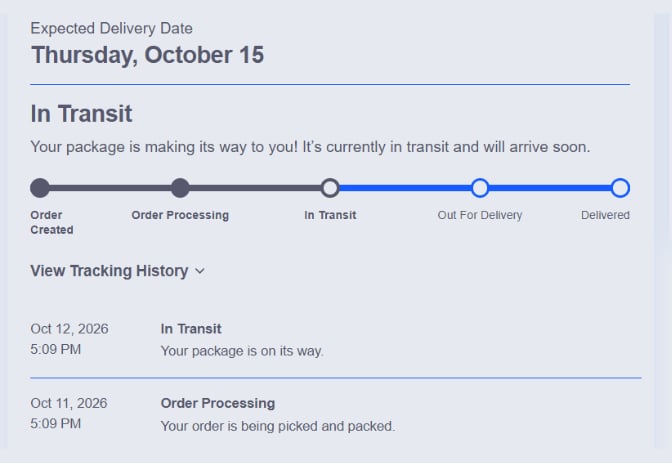
With the premium Branded Tracking page, you can:Customize the page’s colors and fonts
Add redirects back to your store with header menu links
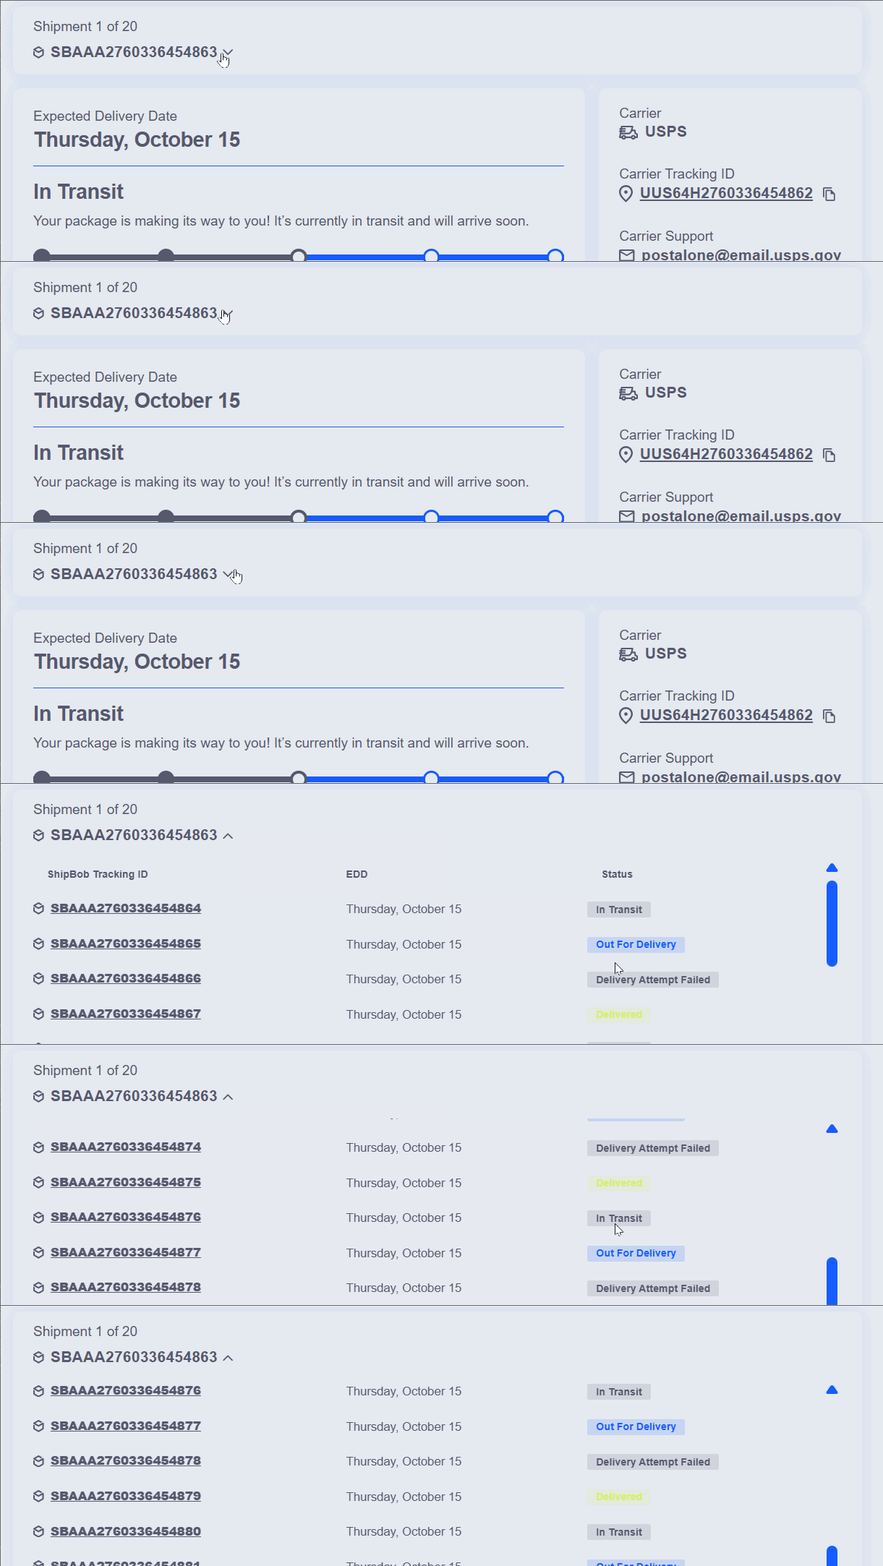
Show every shipment in an order on one tracking page
Promote products and offers with banners and product recommendations
Pricing and Beta Period
The premium Branded Tracking page is in beta until December 31, 2026. You will not be charged for using it until January 1, 2027. After the beta, the premium page carries a per-shipment fee set out in the pricing provided with your Jetpack fulfillment agreement. See Which shipments count toward the premium fee? below.
Requirements
To use the premium Branded Tracking page, your D2C orders must be imported through a middleware provider (for example, NetSuite or ShipStation) or through Jetpack’s Shopify integration.- During the beta, the premium page is not available to merchants whose Know Your Customer (KYC) address or billing address is in Canada.
- For unsupported platforms, regions, or B2B orders, the tracking page defaults to the carrier’s tracking page.
Requesting Access
Jetpack does not enable the premium Branded Tracking page by default. To request access, Slack message or email your dedicated Jetpack Care team. When the premium page is enabled, the logo, brand name, website URL, and favicon from your standard page carry over.Opening the Premium Settings Page
1
Open Settings
From the Jetpack dashboard, click Settings on the left-hand navigation bar. Additional menu options will appear.
2
Select Customization Suite
You will be redirected to the Customization Suite page.
3
Click Manage branded tracking page
The link sits under the Branded Tracking page tile.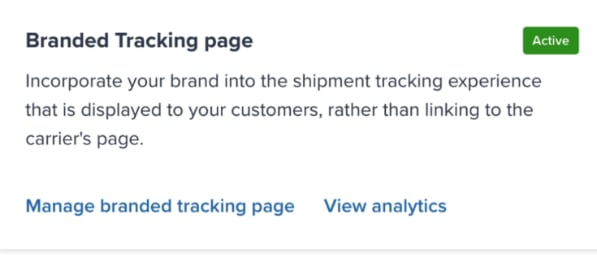
Settings Page Layout
The premium Branded Tracking settings page has two panels.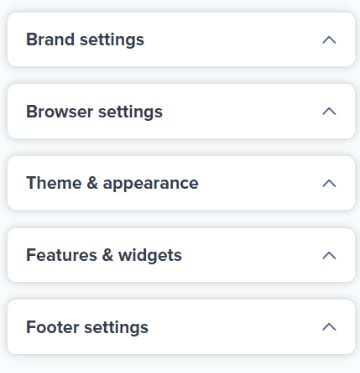
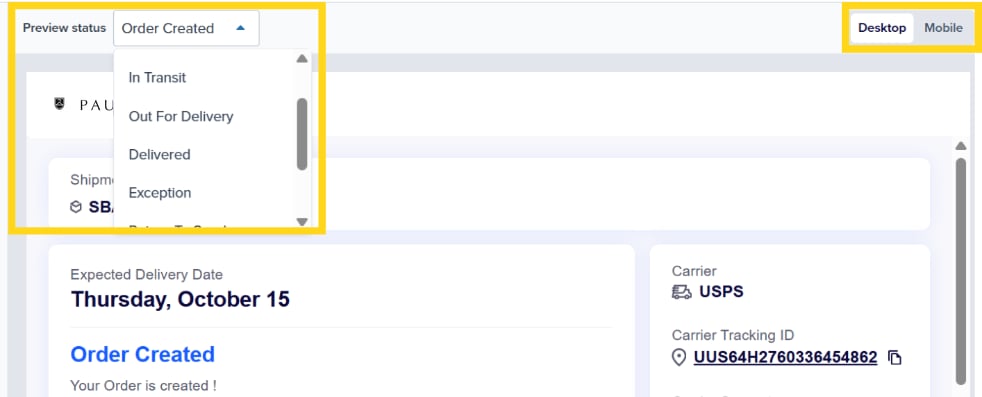
Brand Settings
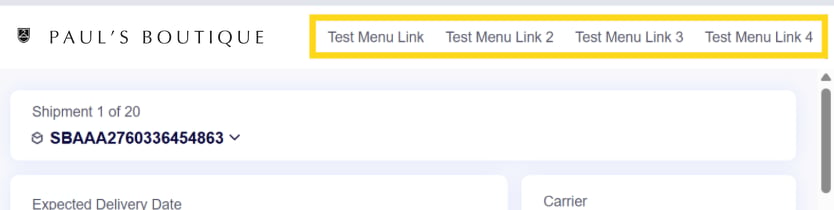
Adding a Menu Link
1
Click + Add next to Menu links
2
Enter the label and URL
Enter the link label (for example, Shop Men’s) in the Label box and a valid URL in the second box.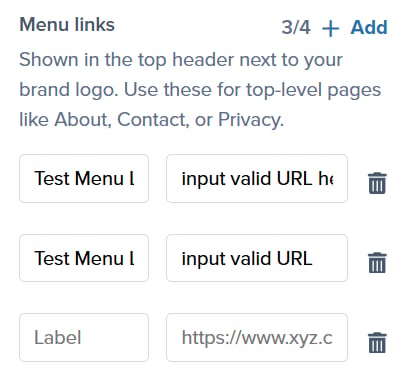
3
Click Save
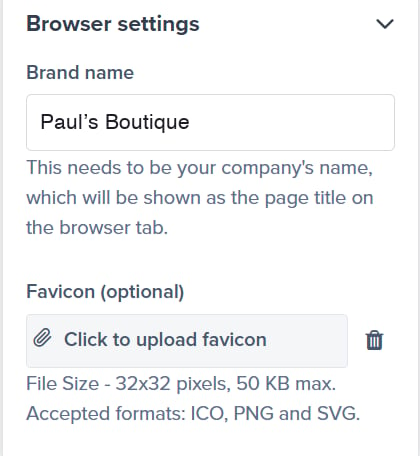
Browser Settings
Theme & Appearance
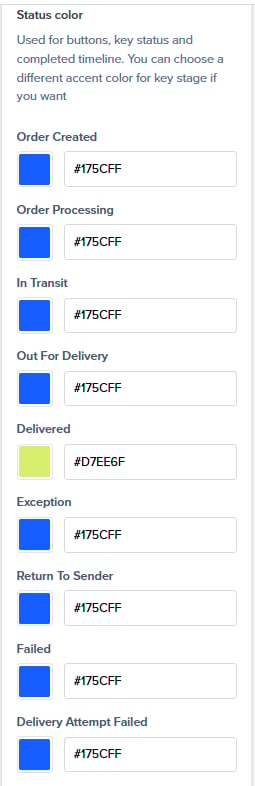
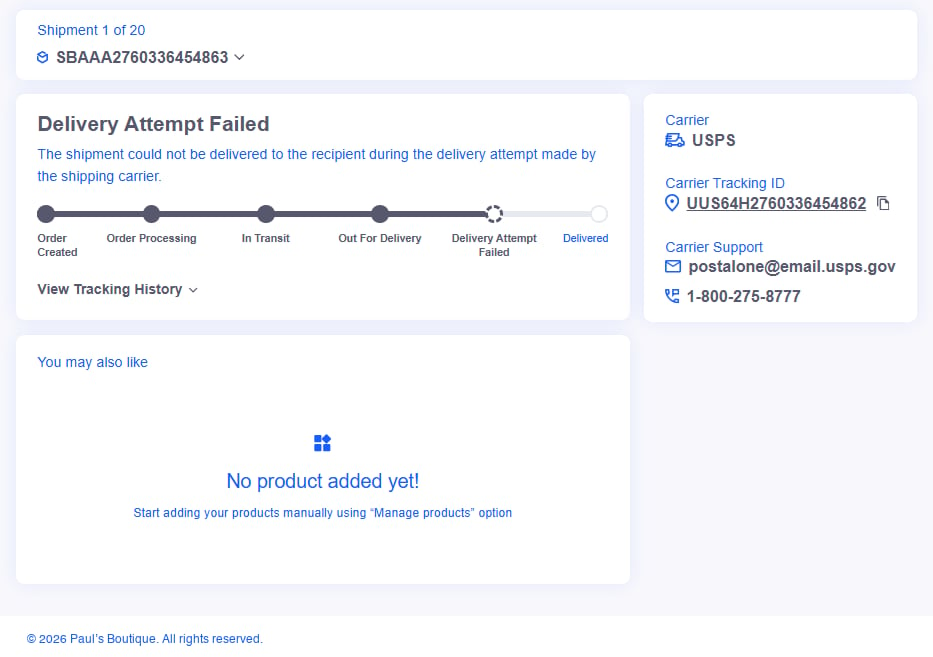
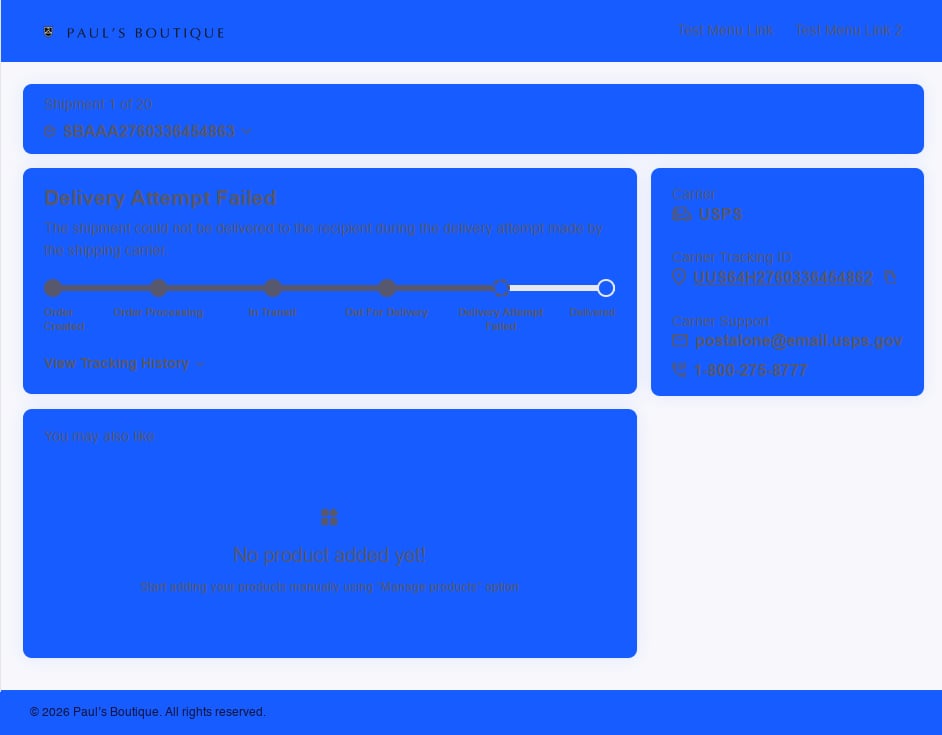
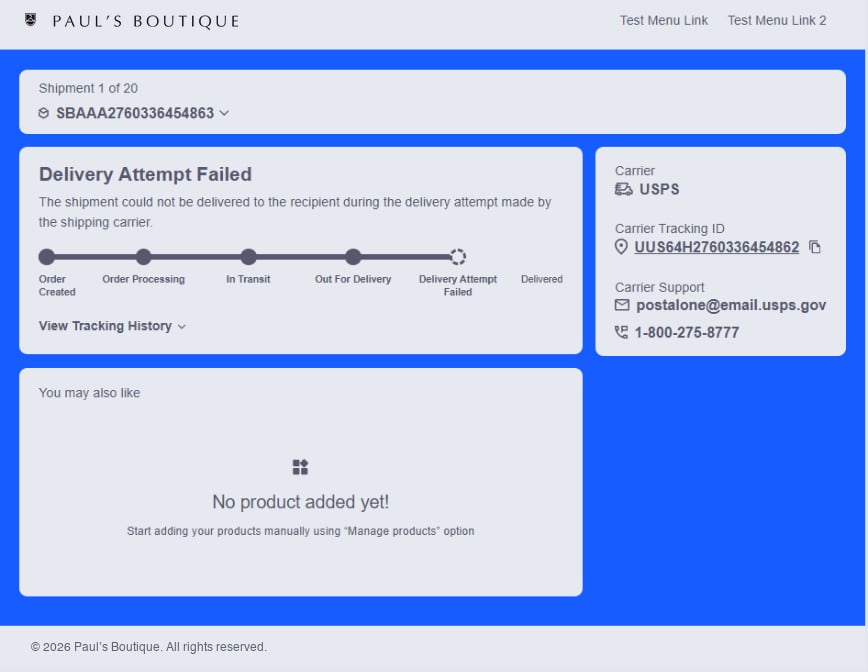
Each color setting takes a hex color code. The examples below show the elements each setting controls in blue.Status color
Status color
Primary content color
Primary content color
Static content color
Static content color
Section/block background color
Section/block background color
Page background color
Page background color
Miscellaneous color
Miscellaneous color
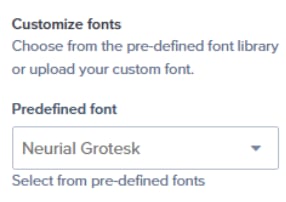
Predefined font
Predefined font
Features & Widgets
Split Shipments
Use the Split shipments toggle to choose whether split shipments are shown on the tracking page.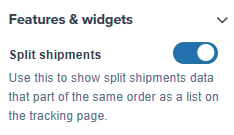
Promotional Banners
Use the Promotional banners toggle to choose whether banners appear on your tracking page. You can display up to two clickable banners below the tracking timeline to promote offers, announcements, or products.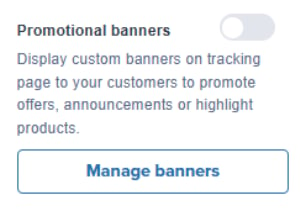
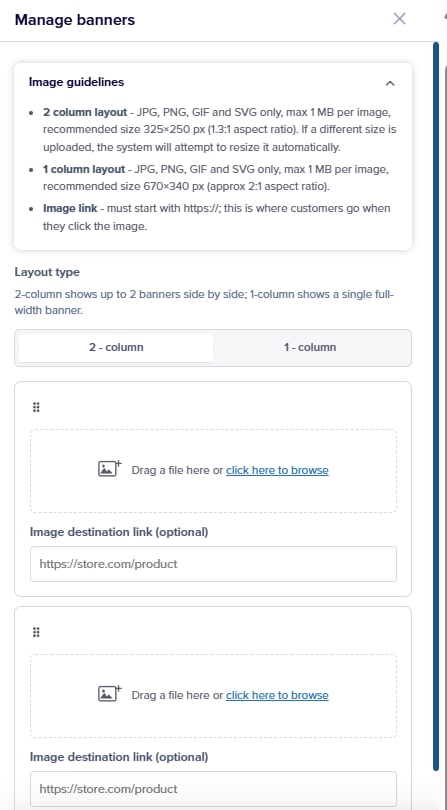
Banner files can be JPG, PNG, GIF, or SVG. If your image is a different size, the system attempts to resize it automatically.
Product Recommendations
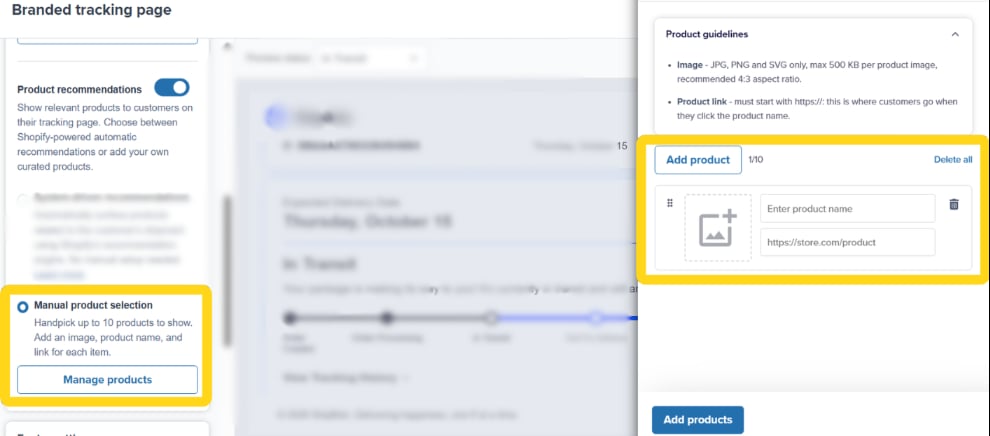
Use the Product recommendations toggle to choose whether relevant products are shown to customers on the tracking page. There are two ways to choose the products: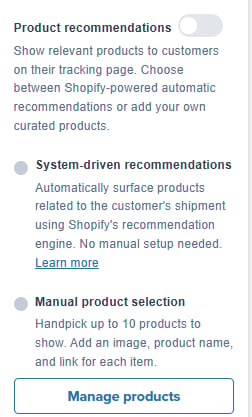
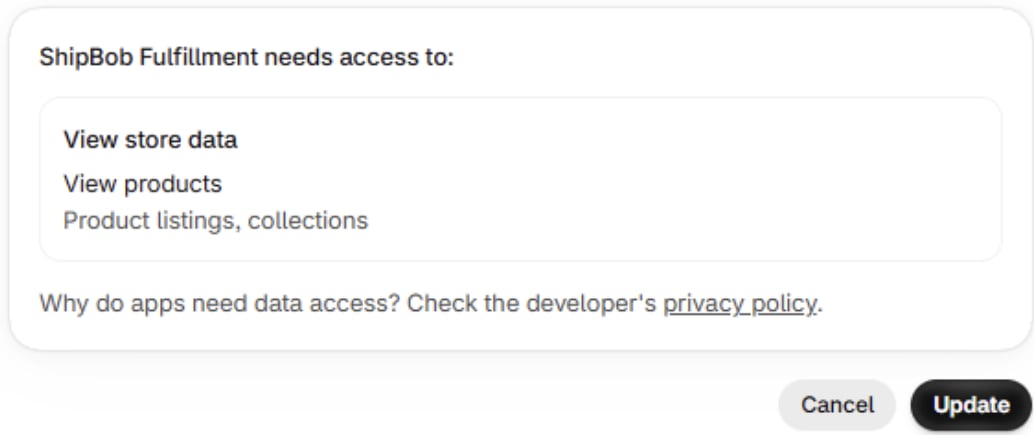
Jetpack’s Shopify integration runs on ShipBob’s licensed integration infrastructure, so the app in your Shopify admin is named ShipBob. Clicking Update there is the reauthentication step.
Adding Products Manually
1
Select Manual product selection
2
Click Manage products
A pop-up appears on the right.
3
Click Add product
4
Upload a product image
The image must have a 4:3 aspect ratio, be no larger than 500 KB, and be a JPG, PNG, or SVG.
5
Enter the product name and product link
The link must start with https://.
6
Click Add products
Footer Settings
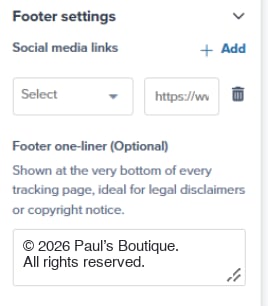
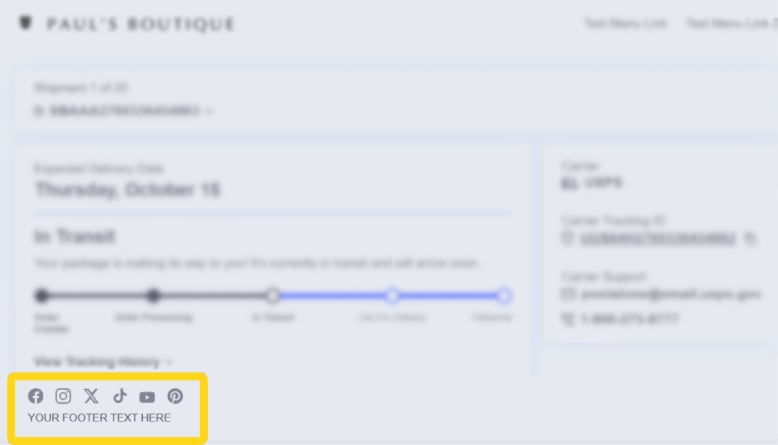
Analytics
Use the Branded Tracking Analytics page to see how your premium page is performing with your customers.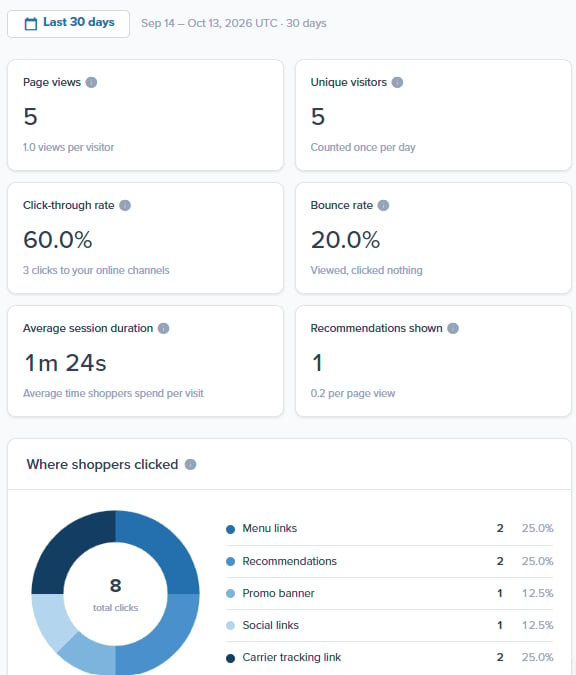
Opening the Analytics Page
1
Open Settings
From the Jetpack dashboard, click Settings on the left-hand navigation bar. Additional menu options will appear.
2
Select Customization Suite
You will be redirected to the Customization Suite page.
3
Click View analytics
The link sits under the Branded Tracking page tile.
Standard vs. Premium
FAQs
Why do my customers see the carrier's tracking page instead of my branded page?
Why do my customers see the carrier's tracking page instead of my branded page?
The tracking page defaults to the carrier’s tracking page when:
- The order is configured as B2B.
- The Tracking page enabled toggle at the top of the Branded Tracking page is off.
- The order originated from a fulfillment center in Canada.
- The order’s sales channel is not a middleware provider or Shopify.
Let’s Dive Deeper
Branded Tracking Pages
Set up the standard branded tracking page with your logo, brand name, website URL, and favicon
Shopify Integration
Connect your Shopify store so orders qualify for the premium page
Tools & Techniques Overview
Back to the main tools guide
Questions? Contact Jetpack Care.
To request the premium Branded Tracking page, revert to the standard page, or get help with eligibility, logo sizing, or your Shopify connection, Slack message or email your dedicated Jetpack Care team.