

Syncing products from your integrated online stores is the most common and efficient way to get your products into the Jetpack platform. Once you’ve connected your store integration, you can sync your product catalog with just a few clicks.
Syncing Products from Your Online Stores
From the Jetpack dashboard:1
Open Quick Actions
Click on Quick Actions in your dashboard. A pop-up window will appear.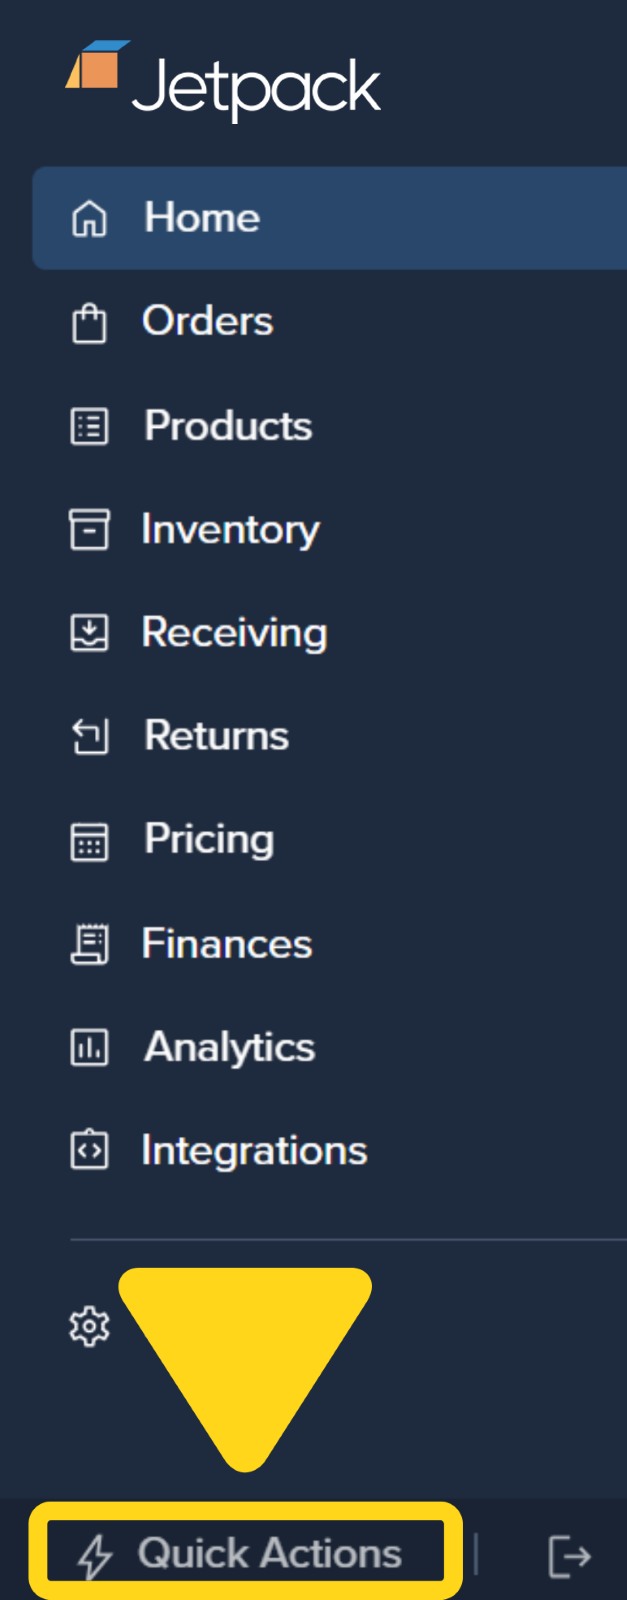
2
Choose Sync Your Products
Select the Sync Your Products option from the menu.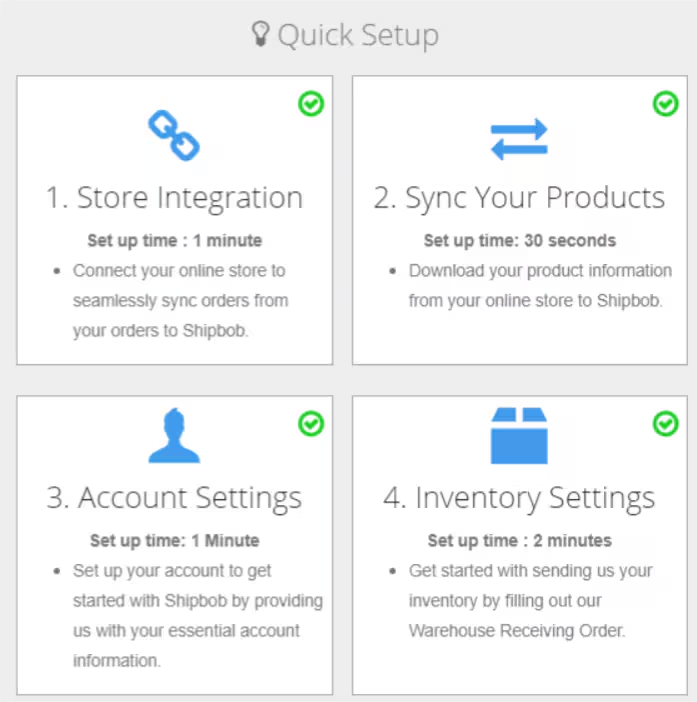
3
Select stores to sync
Check the box next to each store from which you want to sync SKUs.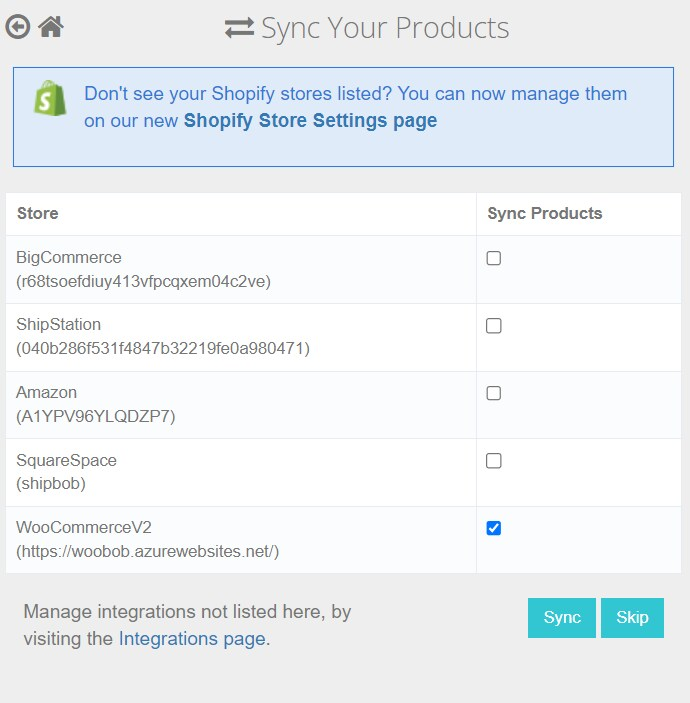
4
Start the sync
Click the Sync button to begin syncing your products.
Specific instructions and options for initially syncing products from your store will depend on which ecommerce platform you’re syncing from. For detailed guidance on setting up your specific integration, see the Store Integration Overview.
What Happens After You Sync?
After your initial product sync completes, your products appear in the Product Catalog—but there are important next steps to ensure smooth fulfillment operations.Reviewing Your Product Data
Navigate to Products in your dashboard to access the Product Catalog and verify your synced products: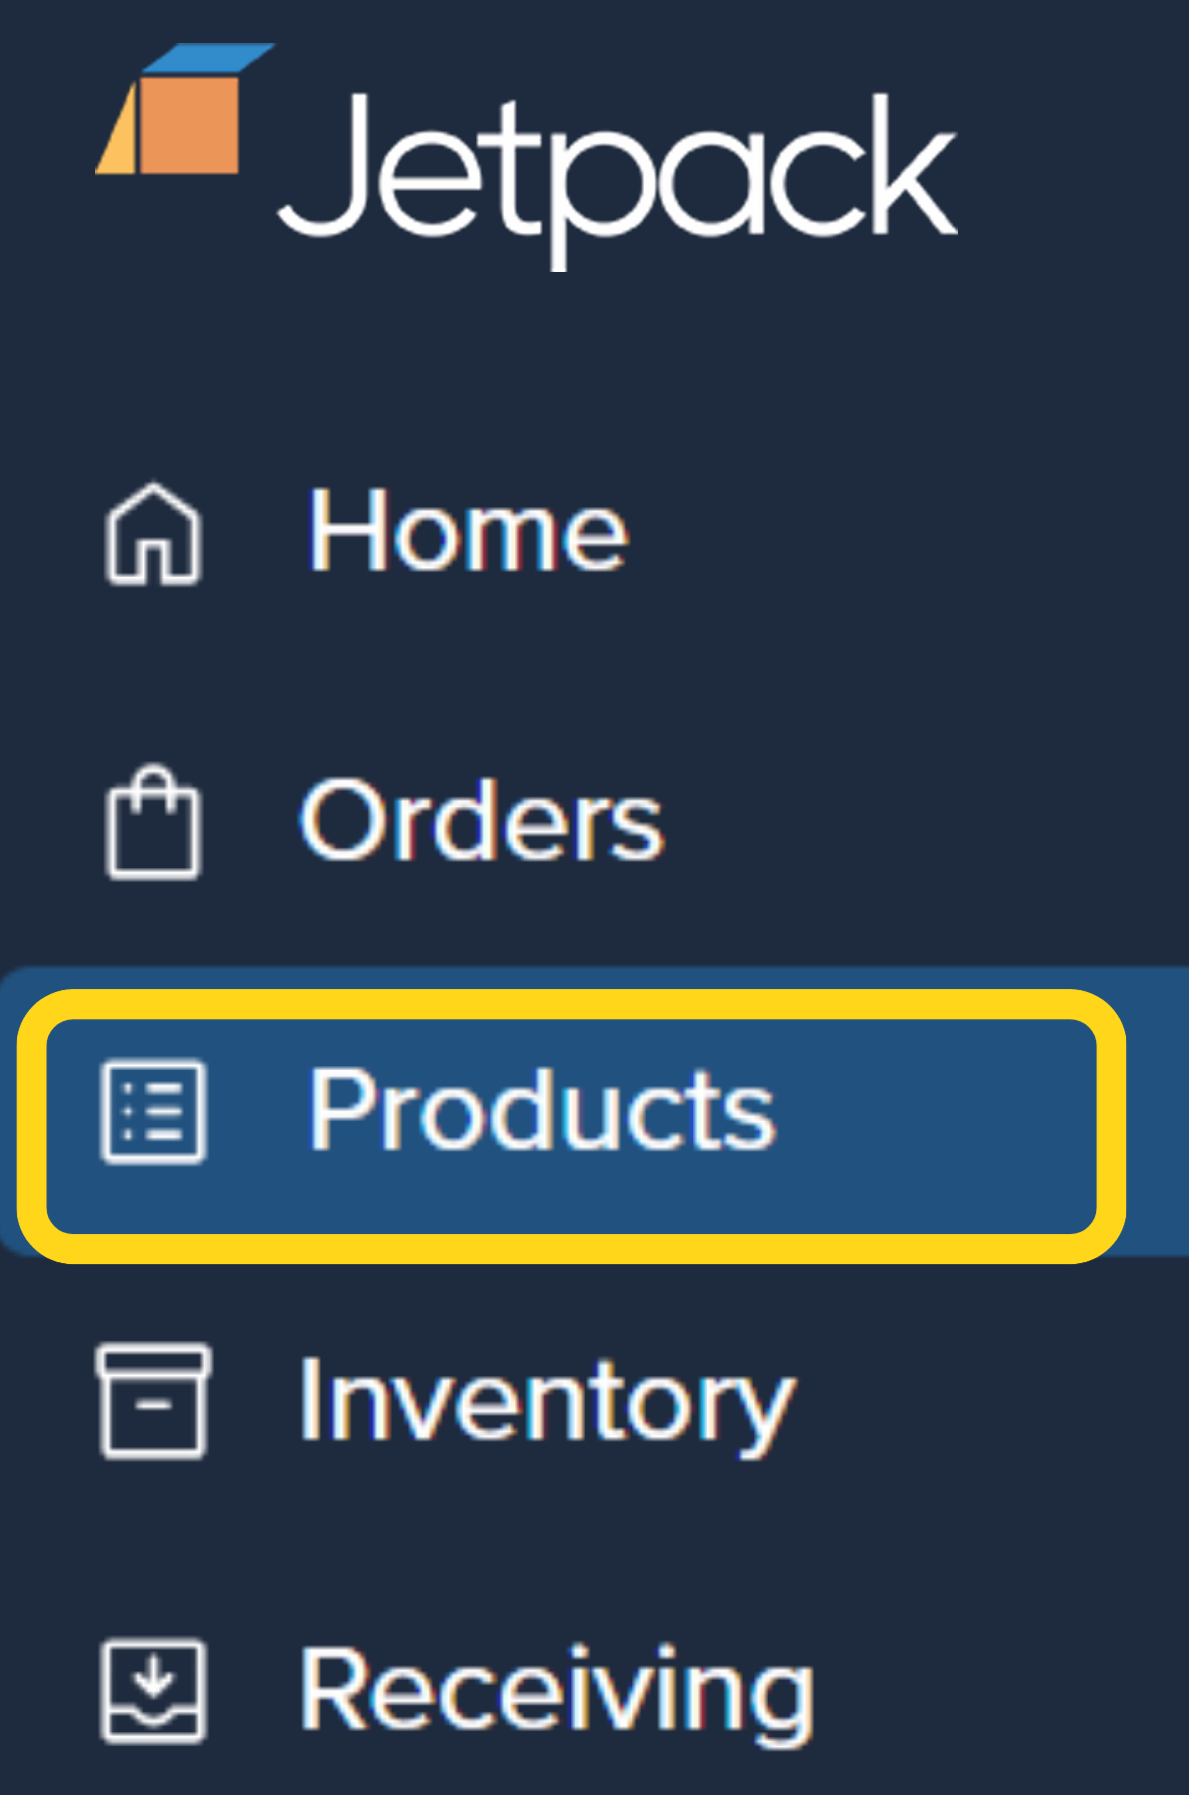
If you notice missing products or incorrect data, you may need to adjust your integration settings or manually add products.
Configuring Product Preferences
Before sending inventory or fulfilling orders, configure critical product settings. Each product in your catalog needs proper configuration to ensure accurate fulfillment:Sales Channels and Product Bundles
If you sell products through multiple channels or offer bundled products, configure these settings in your Product Catalog:- Sales Channels: Associate products with specific sales platforms to manage inventory distribution
- Product Bundles: Create virtual bundles that combine multiple SKUs into a single sellable unit
Next Steps in Your Onboarding Journey
After syncing and configuring your products, you’re ready to move forward with these key onboarding steps:Let’s Dive Deeper
Store Integration Overview
Connect and configure your ecommerce platform
Product Catalog Page
Navigate and organize your product catalog
Manually Adding Products
Add products without a store integration
Setting Product Preferences
Configure product settings for fulfillment
Sending Inventory
Create WROs to send your first inventory shipment
Importing Orders
Begin fulfilling orders after product sync

Questions? Contact Jetpack Care.
If you have any questions or run into issues, you can always contact Jetpack Care for help. Our team is always here to assist via Slack, phone, or email!