> ## Documentation Index
> Fetch the complete documentation index at: https://help.jetpack3pl.com/llms.txt
> Use this file to discover all available pages before exploring further.

# Manually Adding Products

> Learn how to manually add products to your Product Catalog individually as base products or with variants, or in bulk via Excel template.

<div className="page-intro">
  This article explains how to manually add products to your Jetpack Product Catalog without a store integration, whether one at a time (as a base product or with variants) or in bulk via Excel, so you can keep your inventory up to date and organized.
</div>

## Accessing the Add Product Options

<Steps>
  <Step title="Navigate to Products">
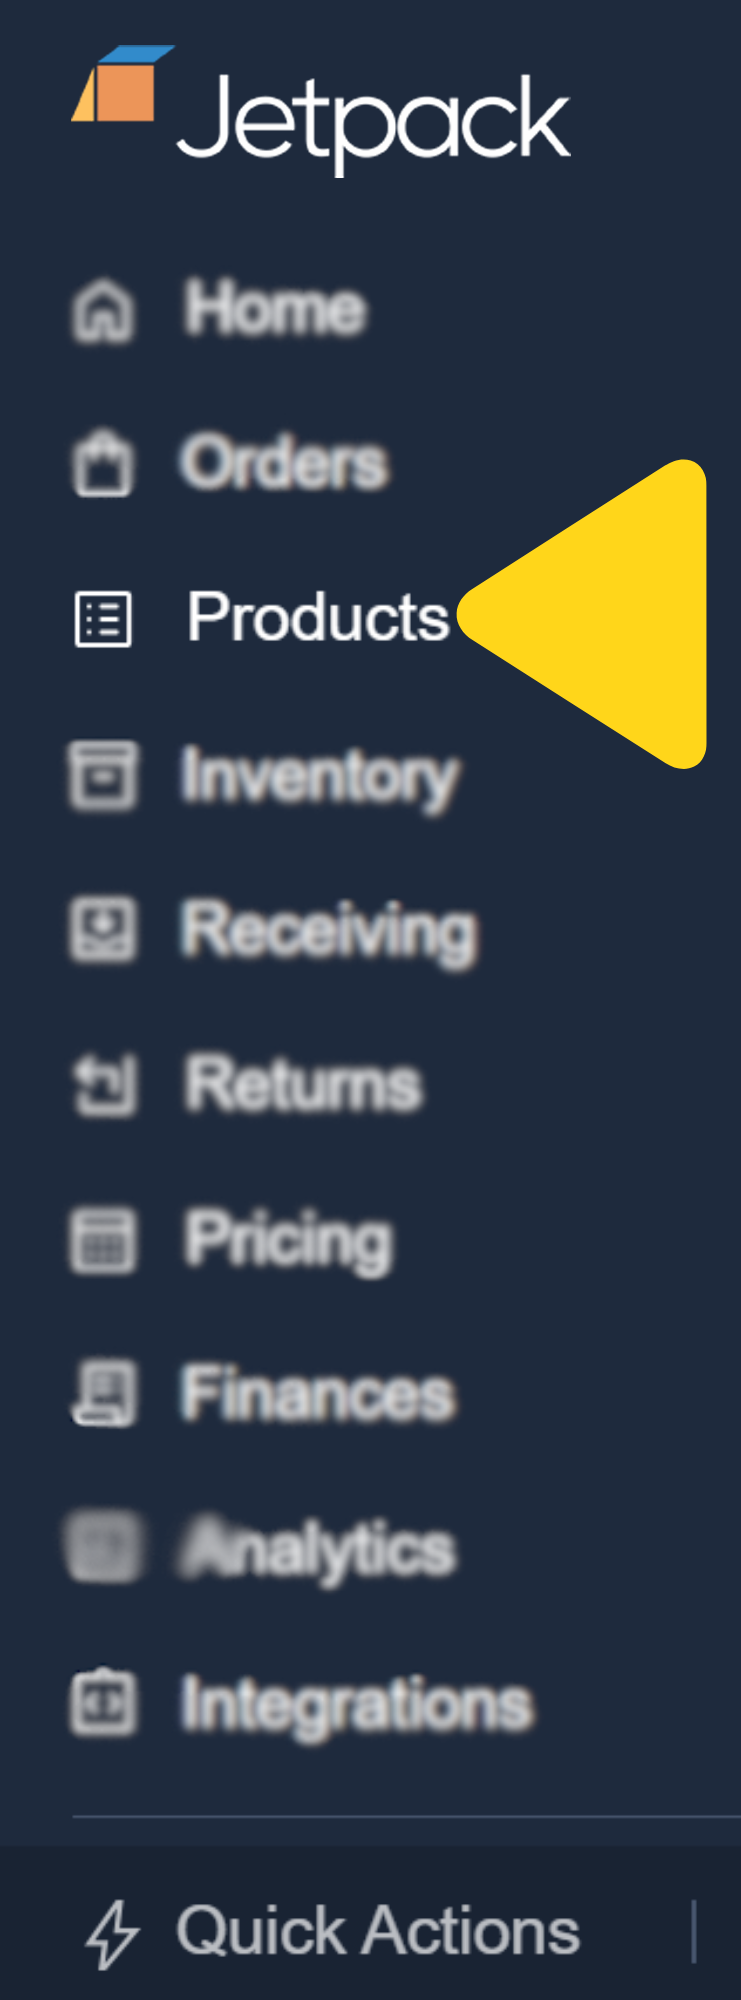
    Click **Products** in the left-hand navigation. You'll be redirected to the Product Catalog page.

    <img src="https://mintcdn.com/jetpack/O_KVSI7218dE1Fgp/images/managing-products/navigate-to-products.png?fit=max&auto=format&n=O_KVSI7218dE1Fgp&q=85&s=a9a2119419403349831bc7dfa5f72bab" alt="Navigating to Products page" className="screenshot" width="741" height="2000" data-path="images/managing-products/navigate-to-products.png" />
  </Step>

  <Step title="Open Add Product menu">
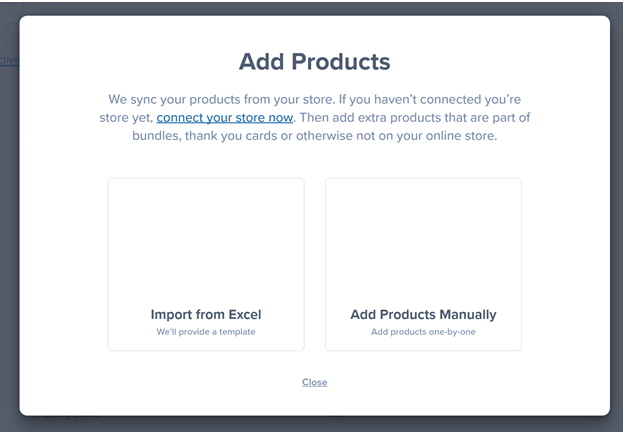
    Click **Add Product** in the top-right corner, then select **Add Product** from the dropdown. A pop-up will appear asking you to choose how to add your items.
  </Step>

  <Step title="Choose your import method">
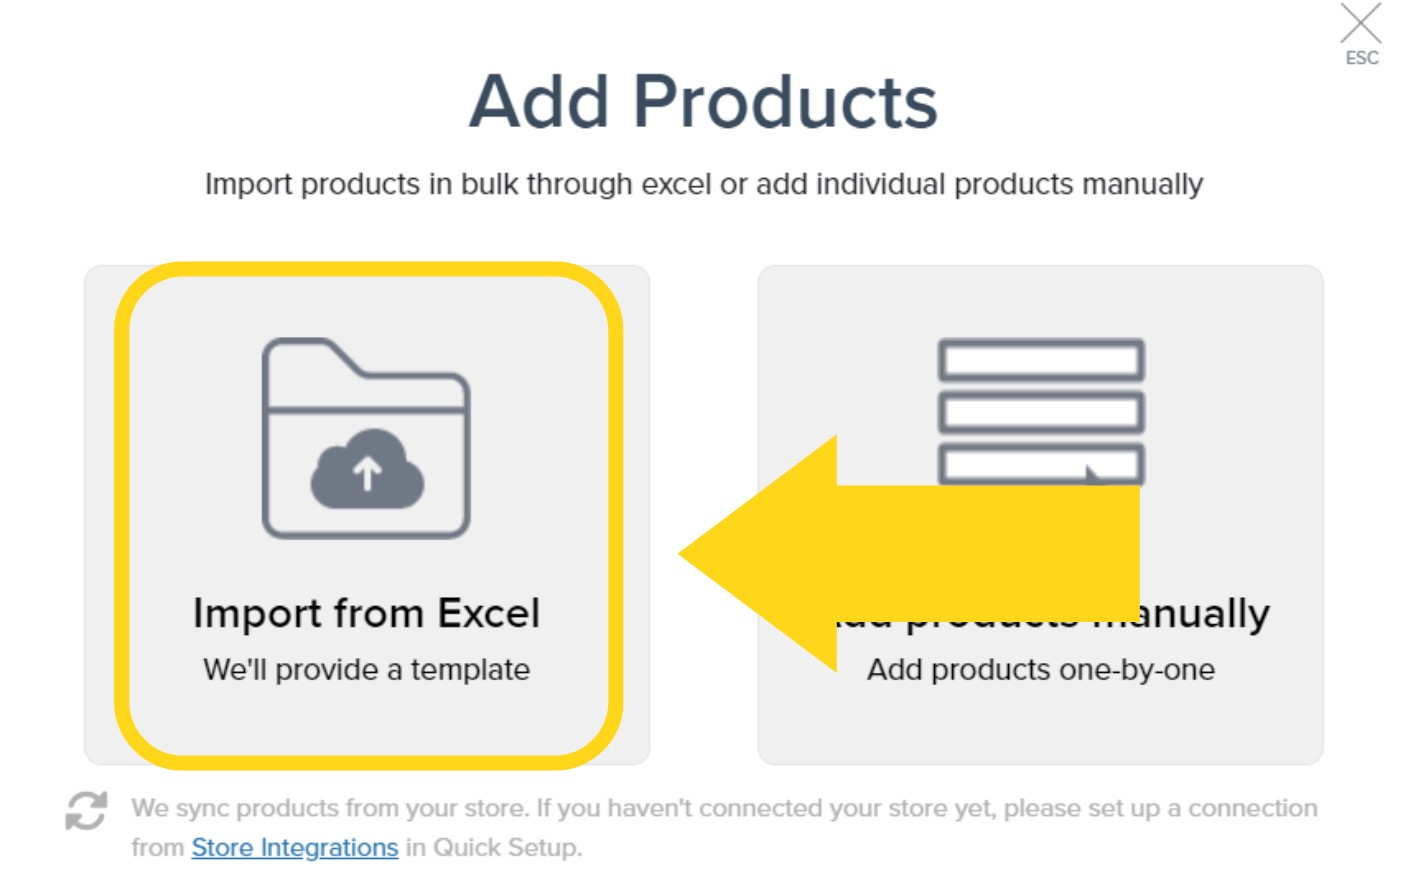
    Select the method to add the new product(s): **Import from Excel** or **Add products manually**.

    <img src="https://mintcdn.com/jetpack/pHoLPX-YG9VNMl_V/images/managing-products/add-product-options.png?fit=max&auto=format&n=pHoLPX-YG9VNMl_V&q=85&s=46c48dcd23ef4ebea4435b0fde57ef4f" alt="Choosing between manual or Excel import" className="screenshot" width="628" height="438" data-path="images/managing-products/add-product-options.png" />

    Follow the steps in the sections below according to your choice.
  </Step>
</Steps>

***

## Manually Adding a Base Product

Use this when your item has no variants.

<Steps>
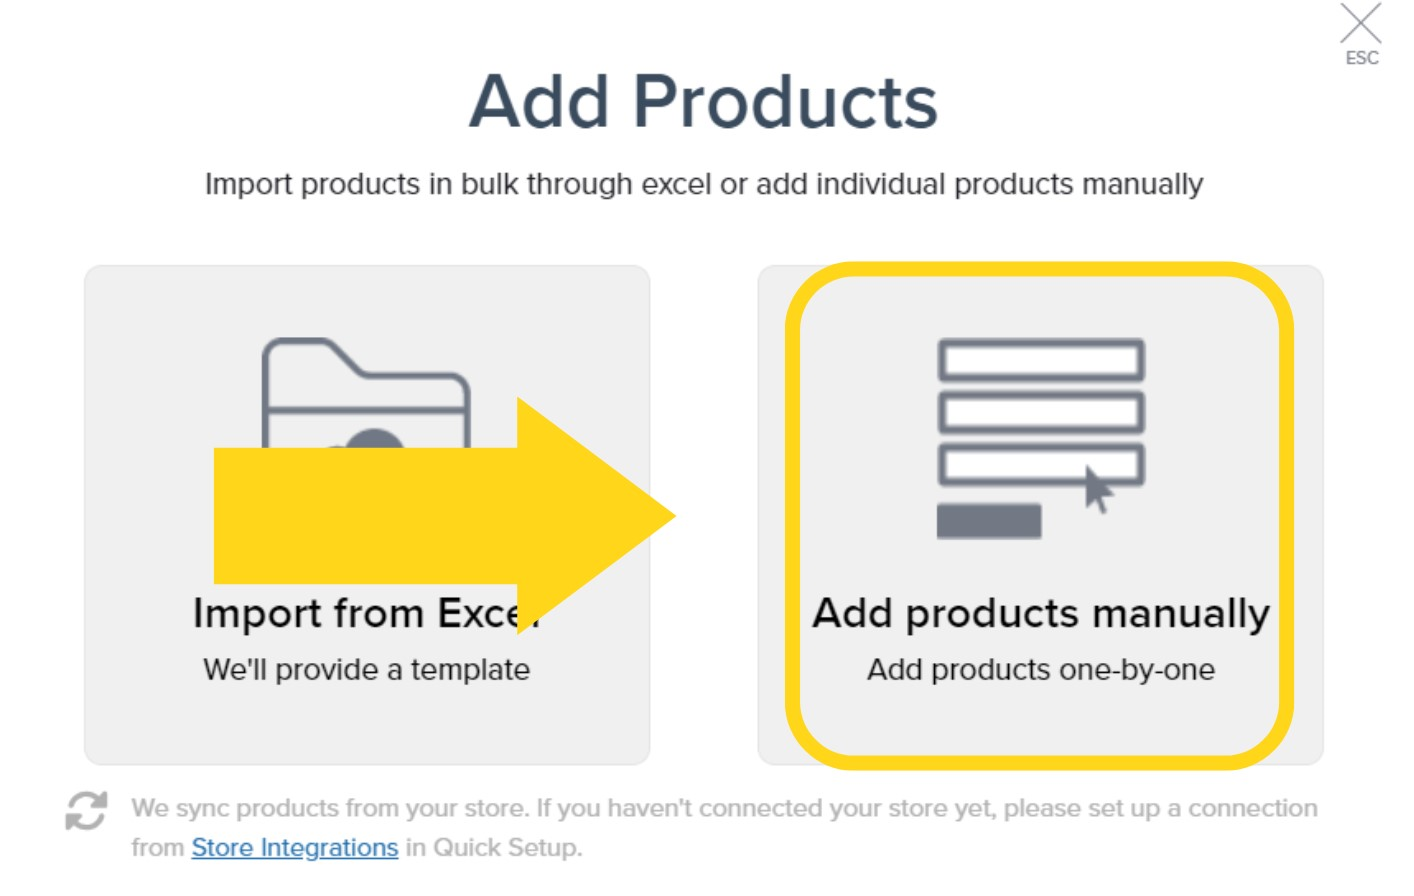
  <Step title="Select manual product entry">
    Select **Add Products Manually** from the pop-up.

    <img src="https://mintcdn.com/jetpack/GPZj8tTKO-9Ah7GH/images/managing-products/select-add-manually.png?fit=max&auto=format&n=GPZj8tTKO-9Ah7GH&q=85&s=51c77e1bfd99550f98a04f03ba1850b5" alt="Selecting Add Products Manually option" className="screenshot" width="1414" height="896" data-path="images/managing-products/select-add-manually.png" />
  </Step>

  <Step title="Choose Base Product type">
    Select **Base Product** as your product type.

    <img src="https://mintcdn.com/jetpack/GPZj8tTKO-9Ah7GH/images/managing-products/select-base-product.png?fit=max&auto=format&n=GPZj8tTKO-9Ah7GH&q=85&s=a7c62999acd2a85c2d9ef11fbf22dd27" alt="Selecting Base Product type" className="screenshot" width="1600" height="1039" data-path="images/managing-products/select-base-product.png" />
  </Step>

  <Step title="Enter product details">
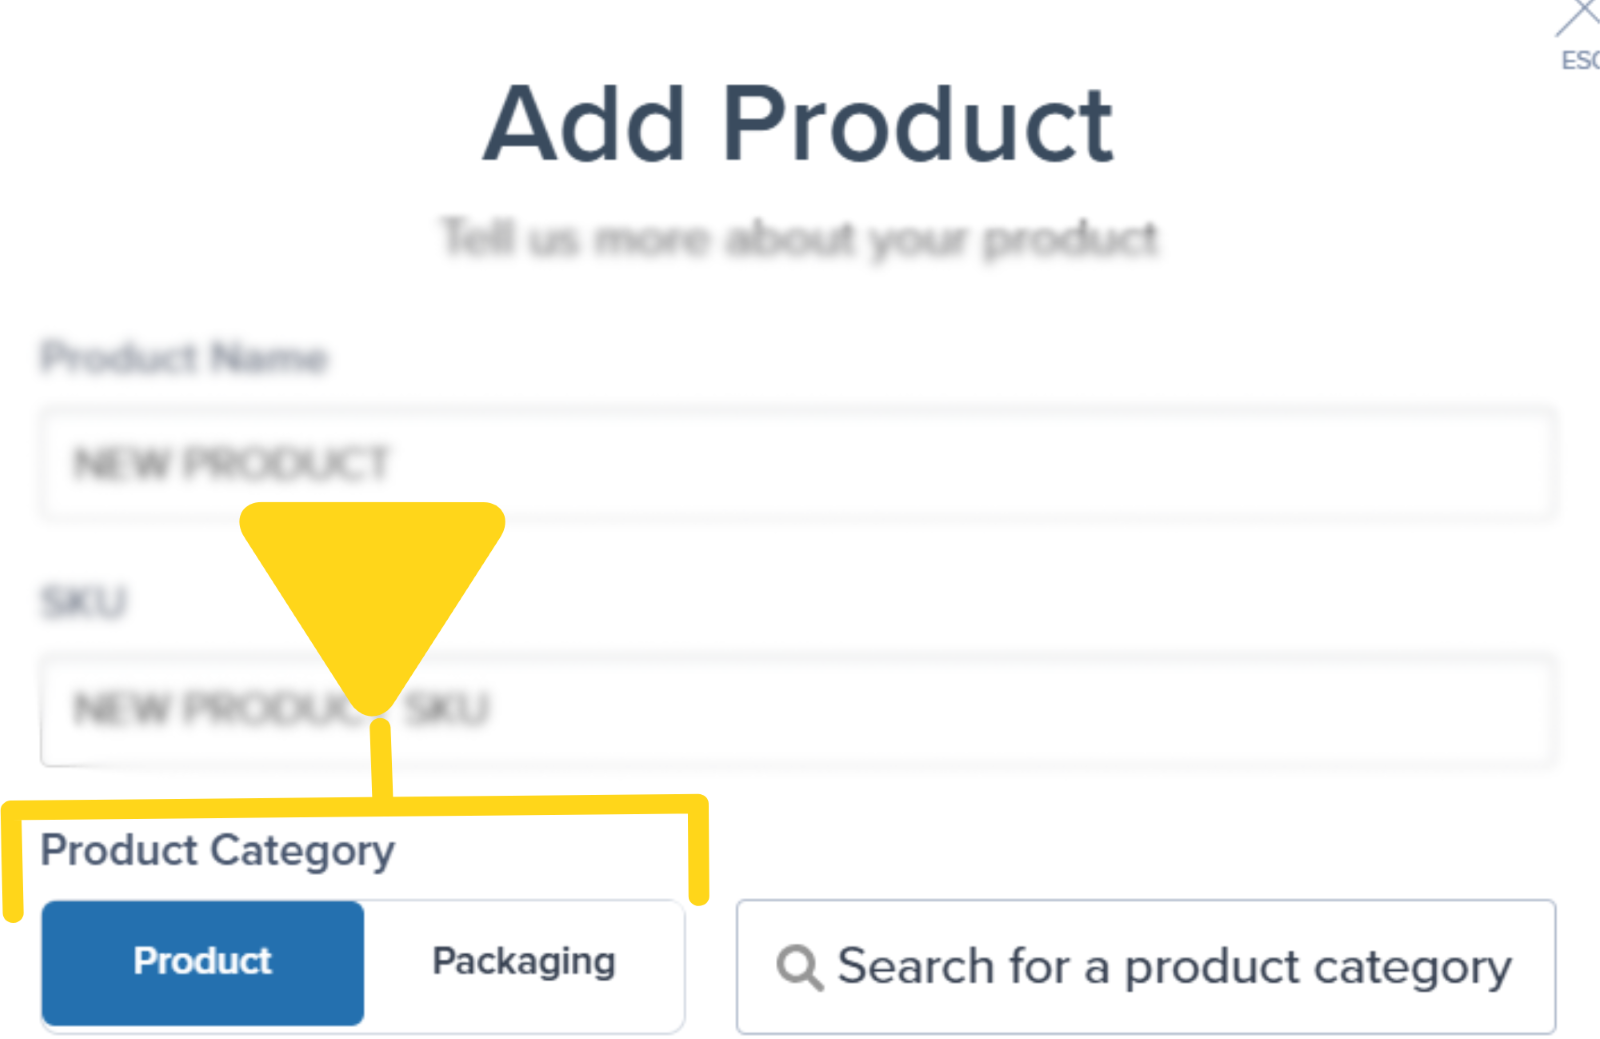
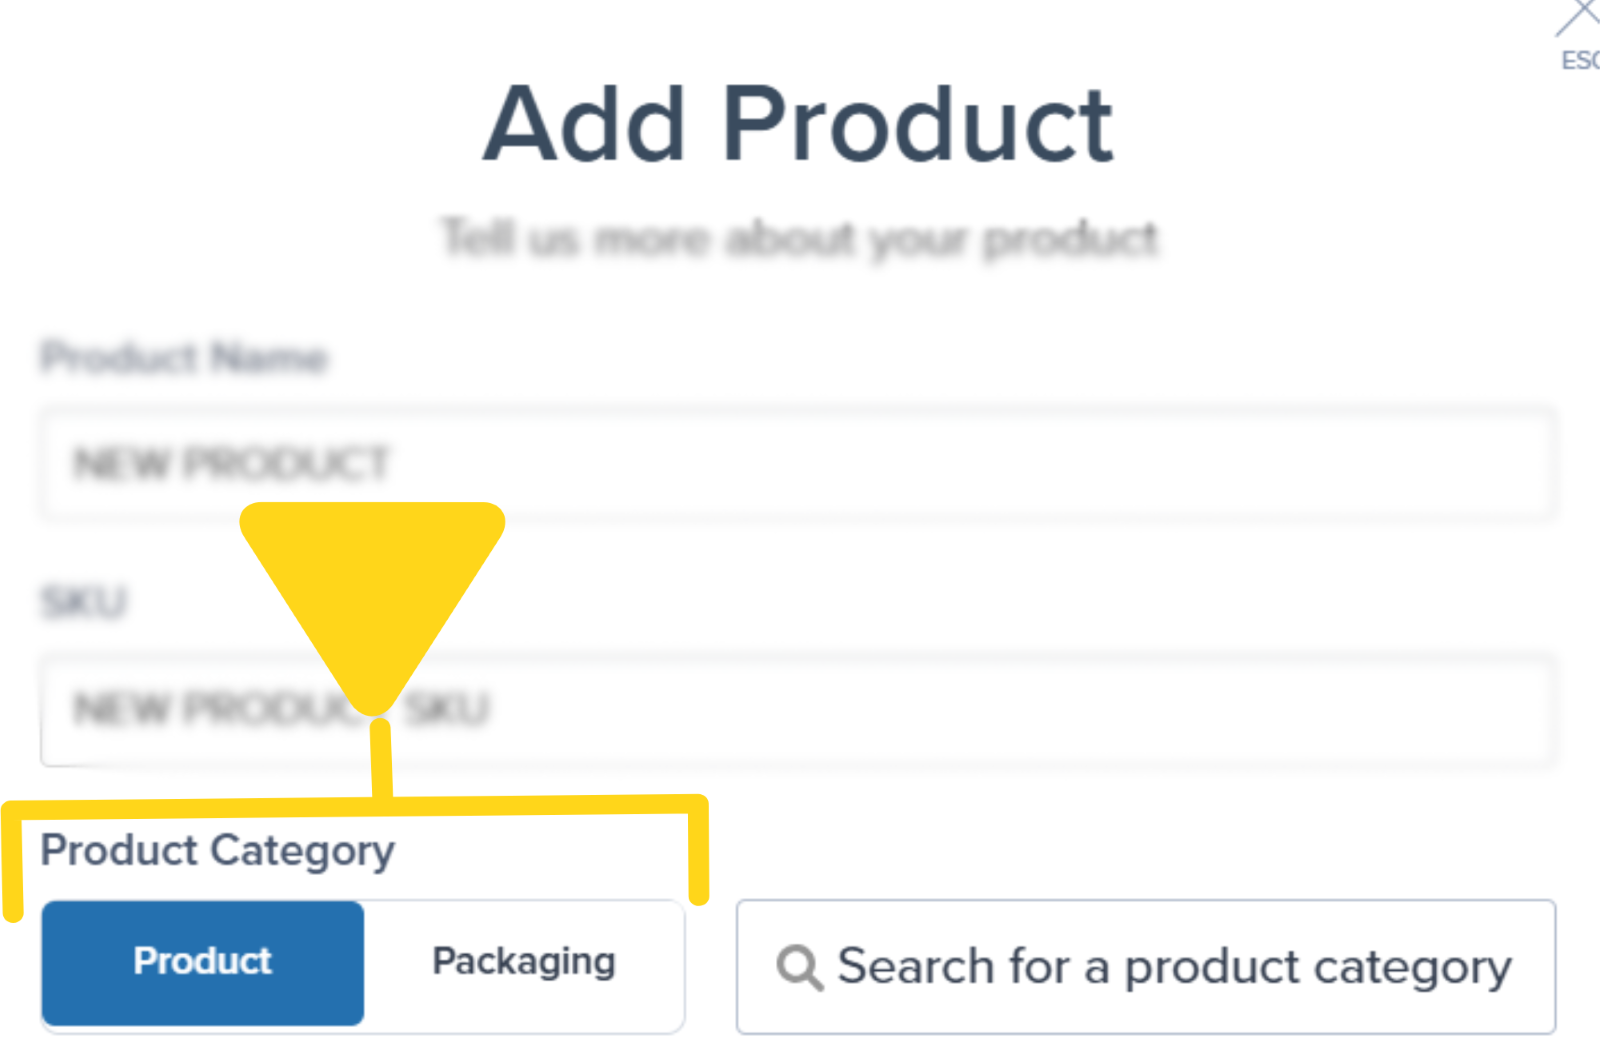
    Enter a **Product Name** and a unique **SKU**, then select either **Product** or **Packaging** for Product Category.

    <img src="https://mintcdn.com/jetpack/GPZj8tTKO-9Ah7GH/images/managing-products/select-product-category.png?fit=max&auto=format&n=GPZj8tTKO-9Ah7GH&q=85&s=c0d848aa56850ade0740a5a5d3a48daf" alt="Selecting product category from dropdown" className="screenshot" width="1570" height="1138" data-path="images/managing-products/select-product-category.png" />
  </Step>

  <Step title="Select product category">
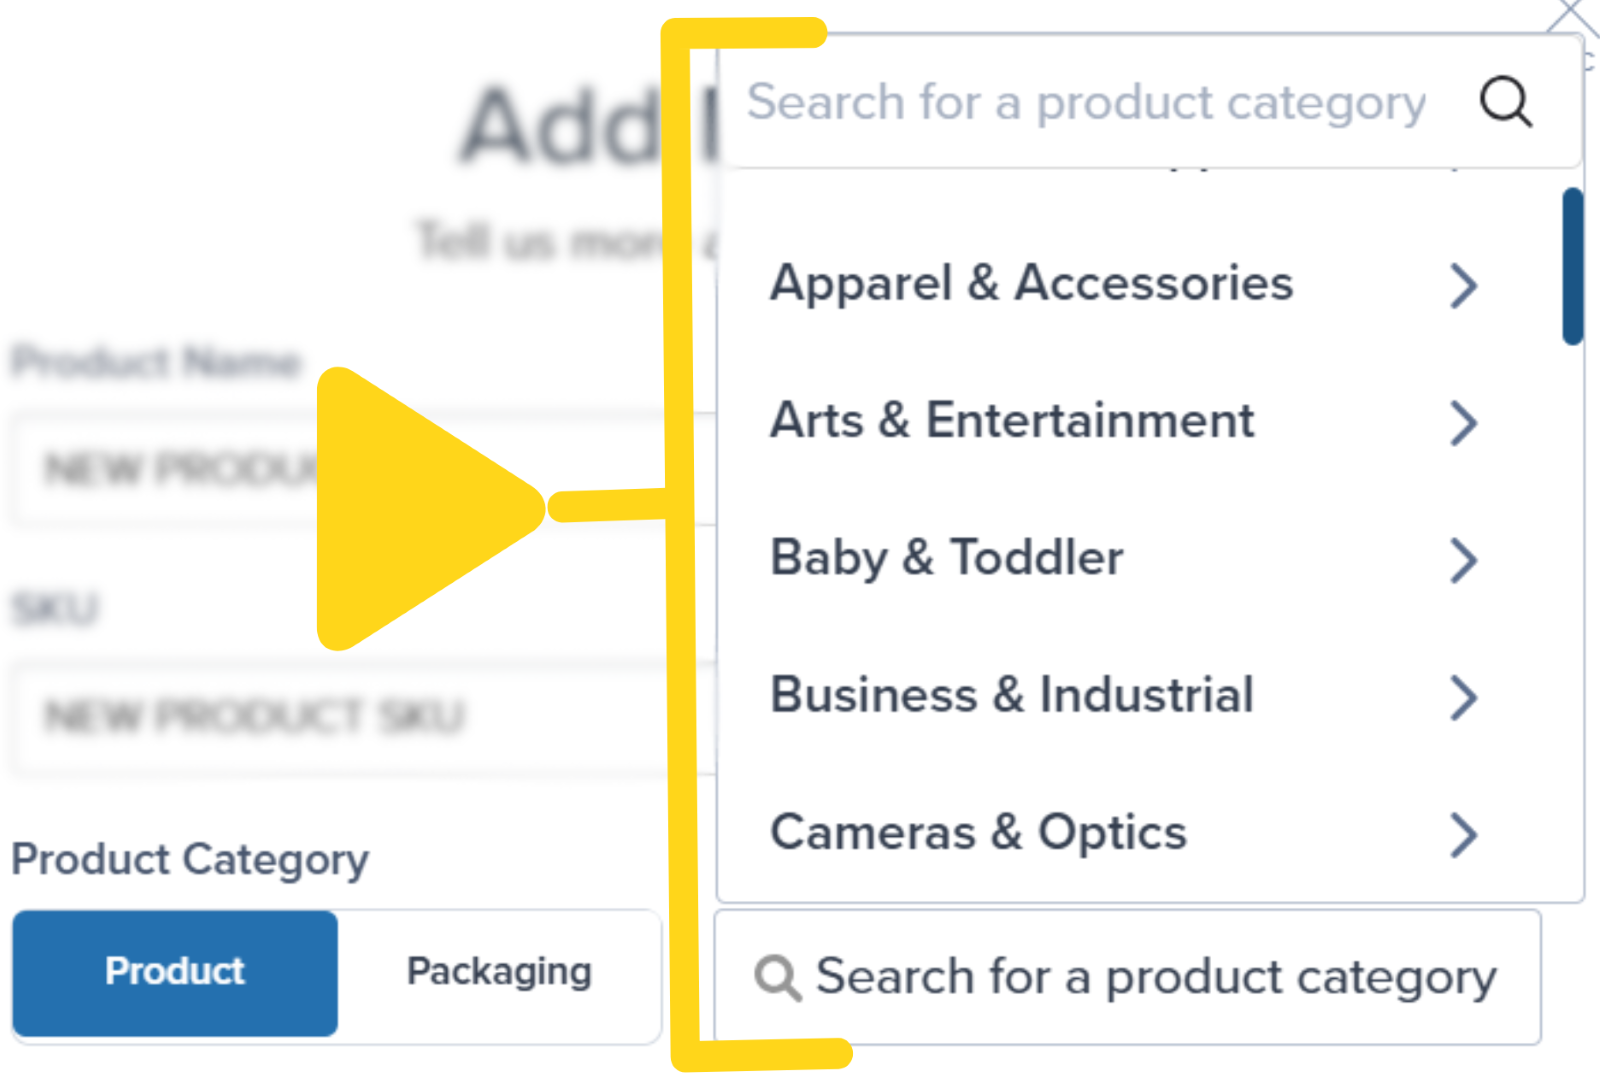
    Use the drop-down options next to Product and Packaging to select the category or packaging type.

    <img src="https://mintcdn.com/jetpack/R1III1QgB0jm4riK/images/managing-products/base-product-name-sku.png?fit=max&auto=format&n=R1III1QgB0jm4riK&q=85&s=735a0af7e4ca33ba8f3d0f99f7caf71a" alt="Entering product name and SKU" className="screenshot" width="1600" height="1078" data-path="images/managing-products/base-product-name-sku.png" />

    Locate the desired category or packaging type by using the search bar or clicking through the categories using the expand icon (>).
  </Step>

  <Step title="Create the product">
    Click **Add Product**. You'll be taken to the new product's details page.
  </Step>
</Steps>

***

## Manually Adding a Product with Variants

Use this when you have two or more related SKUs under one parent item.

<Steps>
  <Step title="Select varying product type">
    Select **Product that varies** from the product type options.

    <img src="https://mintcdn.com/jetpack/GPZj8tTKO-9Ah7GH/images/managing-products/select-product-varies.png?fit=max&auto=format&n=GPZj8tTKO-9Ah7GH&q=85&s=437d705d2f11cc31341b263ed71f0e8c" alt="Selecting Product that varies option" className="screenshot" width="1600" height="1039" data-path="images/managing-products/select-product-varies.png" />
  </Step>

  <Step title="Set up parent product">
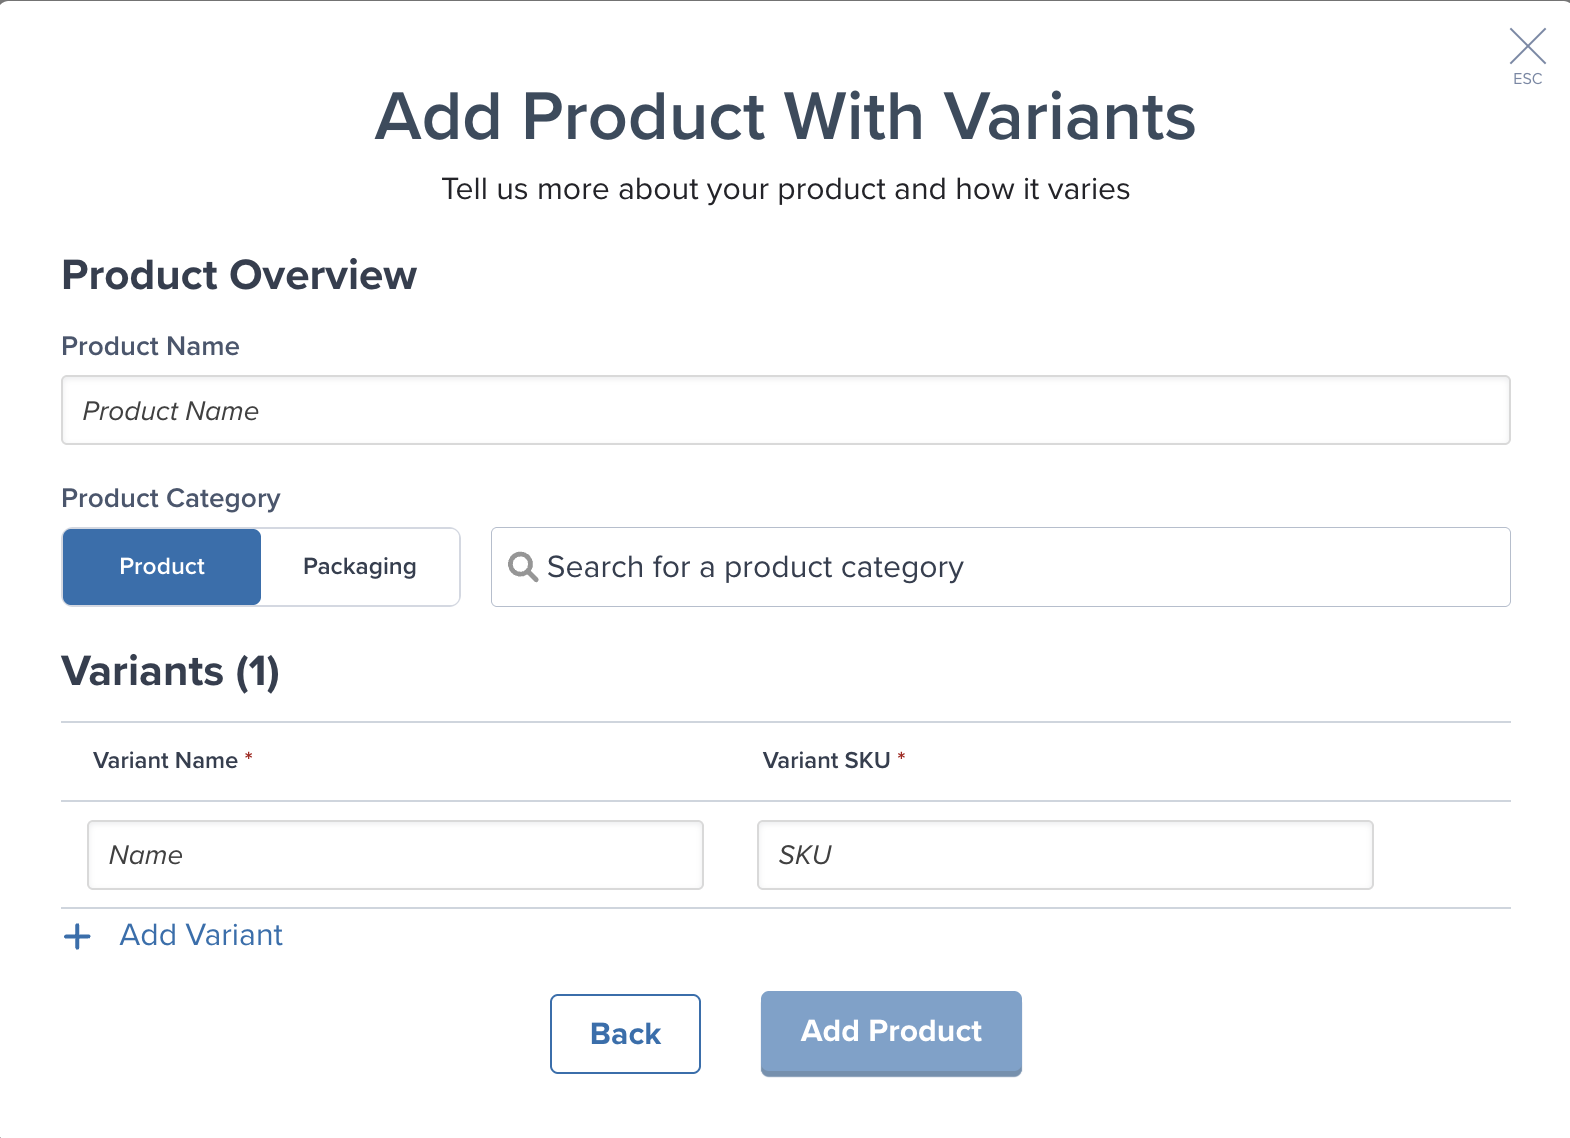
    Enter a **Product Name** for the parent (container) item. This holds all your variants together.

    Optionally choose **Product** or **Packaging**, then pick a **Category** (or let Jetpack's AI suggest one).

    <img src="https://mintcdn.com/jetpack/O_KVSI7218dE1Fgp/images/managing-products/parent-product-setup.png?fit=max&auto=format&n=O_KVSI7218dE1Fgp&q=85&s=329352d5d059335bb3d908148579ef44" alt="Setting up parent product name and category" className="screenshot" width="1414" height="891" data-path="images/managing-products/parent-product-setup.png" />
  </Step>

  <Step title="Add variants">
    For each variant:

    * Enter its **Variant Name**
    * Enter its **Variant SKU**
    * Click **Add Variant** to create another row

    <Info title="Variant Limits">
      You can add up to 100 variants per parent/primary product.
    </Info>
  </Step>

  <Step title="Create the product with variants">
    When all variants are listed, click **Add Product**. You'll be redirected to the parent product's page, where each variant appears under the Variants tab.
  </Step>
</Steps>

<Tip title="Managing Existing Variants">
  If you already have a varying product and just need to add more variants, see our guide on [adding product variants](/fulfillment/managing-products/adding-product-variants).
</Tip>

***

## Adding Products in Bulk (Excel Upload)

You can import base products and products with variants all at once using our Excel template.

<Steps>
  <Step title="Select Excel import method">
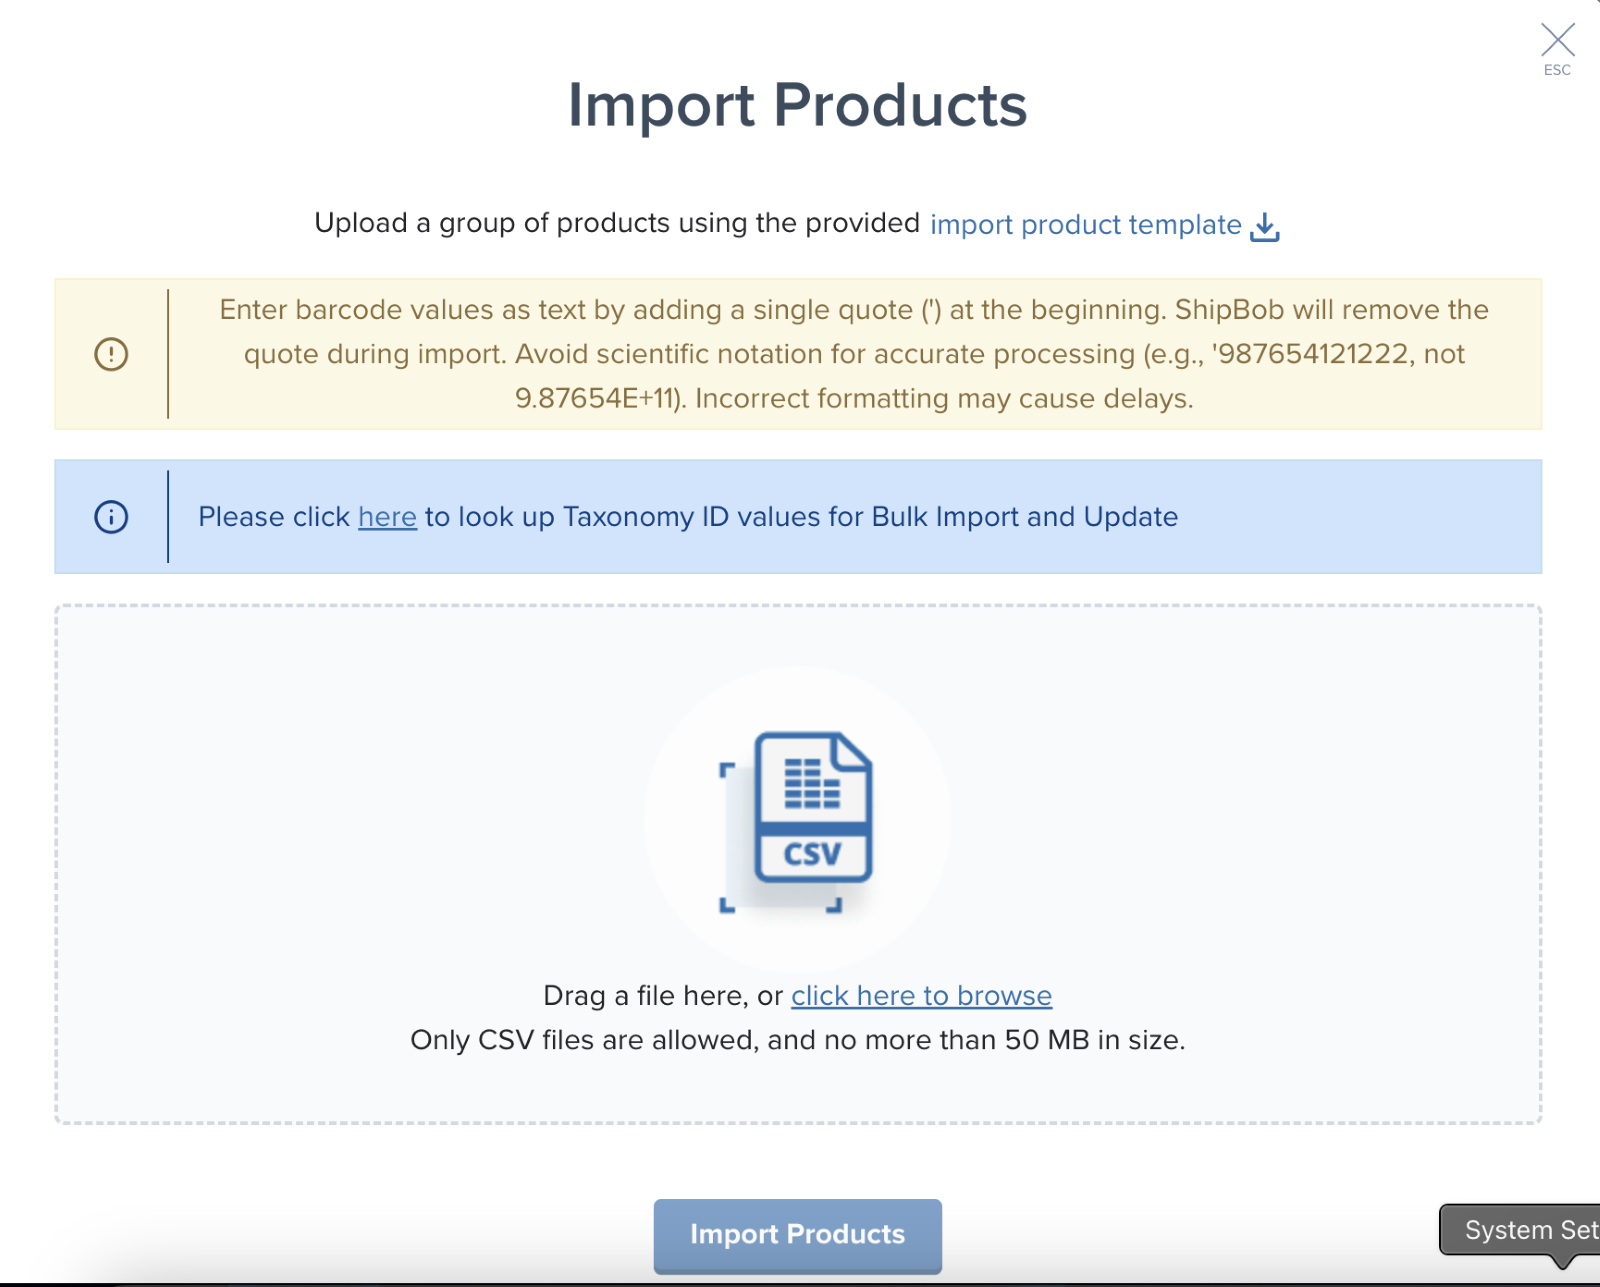
    Select **Import from Excel** from the add product options.

    <img src="https://mintcdn.com/jetpack/GPZj8tTKO-9Ah7GH/images/managing-products/select-import-excel.png?fit=max&auto=format&n=GPZj8tTKO-9Ah7GH&q=85&s=6ae197020881d9b6afdb67e397bc348d" alt="Selecting Import from Excel option" className="screenshot" width="1600" height="1287" data-path="images/managing-products/select-import-excel.png" />
  </Step>

  <Step title="Download the template">
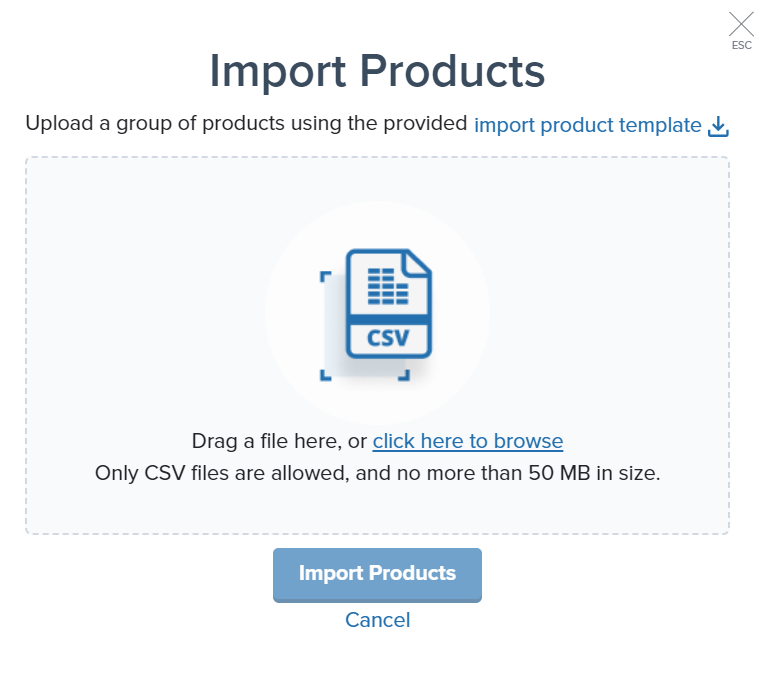
    Click the **import product template** link to download the Excel file.

    <img src="https://mintcdn.com/jetpack/R1III1QgB0jm4riK/images/managing-products/download-template-link.png?fit=max&auto=format&n=R1III1QgB0jm4riK&q=85&s=bf8ef3a024f4a698e3cb5daba58d9513" alt="Downloading the import product template" className="screenshot" width="766" height="673" data-path="images/managing-products/download-template-link.png" />
  </Step>

  <Step title="Prepare your product data">
    Open the downloaded file and delete the sample rows but keep all column headers.

    <Tip title="Template Guidelines">
      Click [here](/fulfillment/managing-products/more-tools/product-details-template-guidelines) for guidelines to complete the template.
    </Tip>

    Save your edited Excel file and return to the pop-up.
  </Step>

  <Step title="Upload your file">
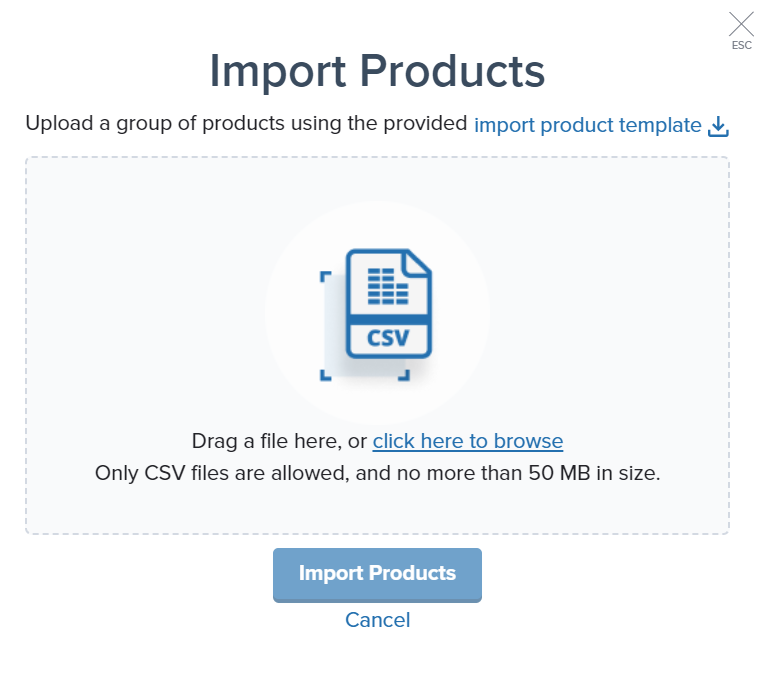
    Drag and drop the file, or select **click here to browse**.

    <img src="https://mintcdn.com/jetpack/GPZj8tTKO-9Ah7GH/images/managing-products/upload-excel-file-drag-drop.png?fit=max&auto=format&n=GPZj8tTKO-9Ah7GH&q=85&s=2e6ee9829dc619f8de97eed6b13db8e5" alt="Uploading Excel file via drag and drop" className="screenshot" width="766" height="673" data-path="images/managing-products/upload-excel-file-drag-drop.png" />

    <Info title="Remove File">
      Click the trash can icon to the right of the file's name to remove the selected file.
    </Info>
  </Step>

  <Step title="Import and confirm">
    Click **Import Products**. A success message will appear, and the new products will appear under the Active tab after you refresh your Products page. You will receive an email summary of your bulk upload request.
  </Step>
</Steps>

### Troubleshooting Failed Imports

If any of your products failed to import, click **Download import template** (hyperlinked) to review why the product(s) failed.

***

## Let's Dive Deeper

<CardGroup cols={3}>
  <Card title="Product Catalog Page" icon="grid-2" href="/fulfillment/managing-products/index">
    Navigate and organize your full product catalog
  </Card>

  <Card title="Product Details Page" icon="file-lines" href="/fulfillment/managing-products/product-details-page">
    Configure detailed settings for each product
  </Card>

  <Card title="Adding Product Variants" icon="layer-group" href="/fulfillment/managing-products/adding-product-variants">
    Learn more about managing product variants
  </Card>

  <Card title="Setting Product Preferences" icon="sliders" href="/fulfillment/managing-products/setting-product-preferences">
    Essential product configuration overview
  </Card>

  <Card title="Bulk Updating Products" icon="table" href="/fulfillment/managing-products/more-tools/bulk-updating-product-details">
    Update multiple products at once via Excel
  </Card>

  <Card title="Syncing Your Products" icon="arrows-rotate" href="/fulfillment/managing-products/syncing-products">
    Import products from your integrated stores
  </Card>
</CardGroup>

<div className="jetpack-callout">
  <img src="https://mintcdn.com/jetpack/2iejPNBTYKEx6ntF/images/jetpack-logomark-256.png?fit=max&auto=format&n=2iejPNBTYKEx6ntF&q=85&s=340604ced4add3864f2641341826e1c9" alt="Jetpack" className="jetpack-callout-icon" width="256" height="256" data-path="images/jetpack-logomark-256.png" />

  <div className="jetpack-callout-content">
    <h4 className="jetpack-callout-title">Questions? Contact Jetpack Care.</h4>
    <p className="jetpack-callout-text">If you have any questions or run into issues, you can always contact Jetpack Care for help. Our team is always here to assist via Slack, phone, or email!</p>
  </div>
</div>