> ## Documentation Index
> Fetch the complete documentation index at: https://help.jetpack3pl.com/llms.txt
> Use this file to discover all available pages before exploring further.
# Zapier
> Connect Zapier to automate workflows between Jetpack and your other business apps without writing code.
Integrating Zapier with Jetpack enables you to automate routine tasks and create seamless connections between your fulfillment operations and other business applications—all without writing any code. Through automated workflows called Zaps, you can trigger actions in Jetpack based on events in your dashboard or respond to Jetpack events in your other apps.

About ShipBob Integration References
During setup, you'll connect to the "ShipBob" integration in Zapier. This is expected—Jetpack has licensed ShipBob's integration infrastructure to provide reliable connections. Your data flows seamlessly to your Jetpack dashboard.
## How Zapier Integration Works
By leveraging Jetpack's Zapier integration, you can automate routine tasks, streamline your workflow, and ensure that your fulfillment operations are synchronized with your other business applications, all without writing any code.
Zapier connects your apps and services through automated workflows known as Zaps. Each Zap consists of:
* **Trigger Event:** An event that starts the Zap (Example: A new order is created, or an order moves to the Exception status in the Jetpack dashboard)
* **Action Event(s):** One or more actions that are executed when the trigger occurs (Example: You might send a Slack message when an order enters Exception status)
* **Optional Filters:** Conditions that further specify when the Zap should perform its actions
Learn more about [Zapier workflows](https://zapier.com/learn).
***
## Available Trigger Events
Using the Jetpack Zapier integration, you can access the following trigger events:
| Trigger | When It Fires |
| --------------------------------------- | ---------------------------------------------------------- |
| **Get Orders** | Fires when a new order is created in the ShipBob dashboard |
| **Get Product** | Fires when a new product is created |
| **Get Return** | Fires when a new return order is created |
| **Get Warehouse Receiving Order (WRO)** | Fires when a WRO is created |
| **Order Shipped** | Fires when an order has shipped |
| **Shipment Delivered** | Fires when an order is delivered |
| **Shipment in Exception** | Fires when an order is marked as Exception |
***
## Available Action Events
After setting a trigger, you can configure these action events:
| Action | What It Does |
| -------------------------------------------- | ---------------------------------------------------- |
| **Create a Return Order** | Creates a return order in the ShipBob dashboard |
| **Create a Warehouse Receiving Order (WRO)** | Creates a WRO |
| **Create an Order** | Creates a new order (supporting multiple line items) |
| **Create Products** | Adds new products to the ShipBob dashboard |
The current version of the Zapier integration is 2.0.2. If your account is on version 2.0.1, it will automatically update to the latest version when you modify or create a new Zap.
***
## Integrating Zapier with Your Jetpack Dashboard
Follow these steps to connect Zapier to your Jetpack account:
In the Jetpack dashboard, locate and click Integrations in the left navigation menu.
From the submenu, select App Store, then locate and select the Zapier tile.
You will be redirected to your Zapier account.
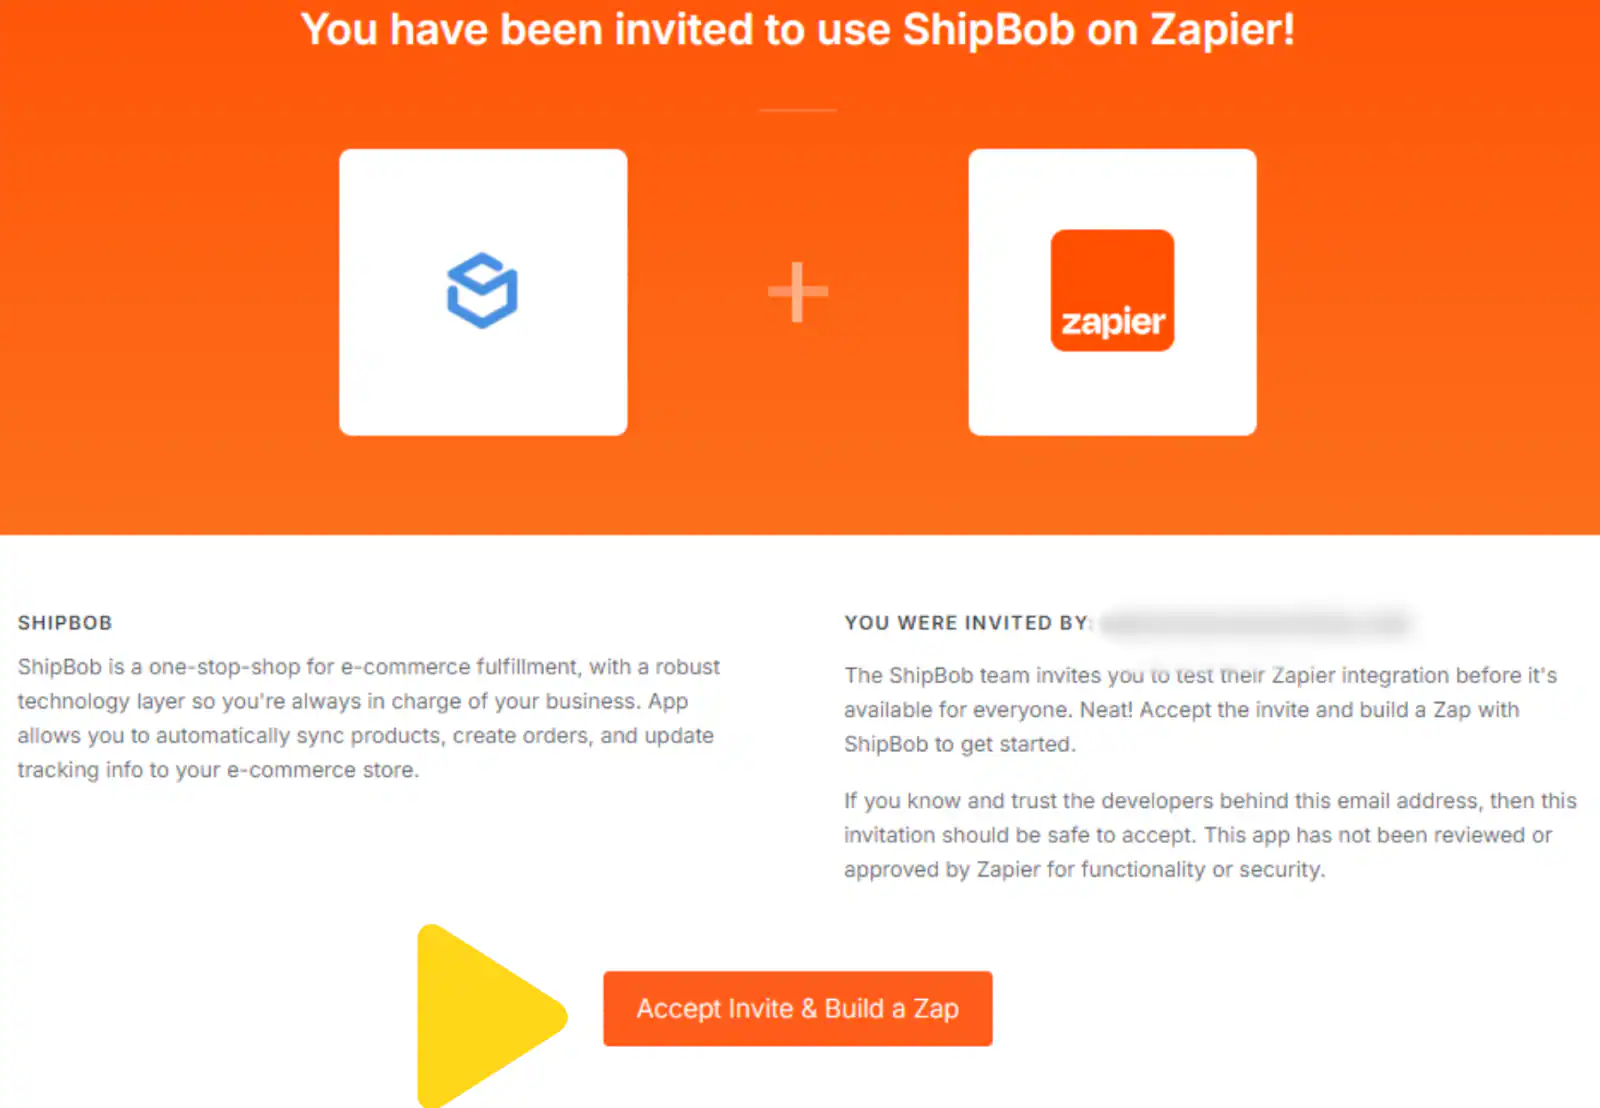
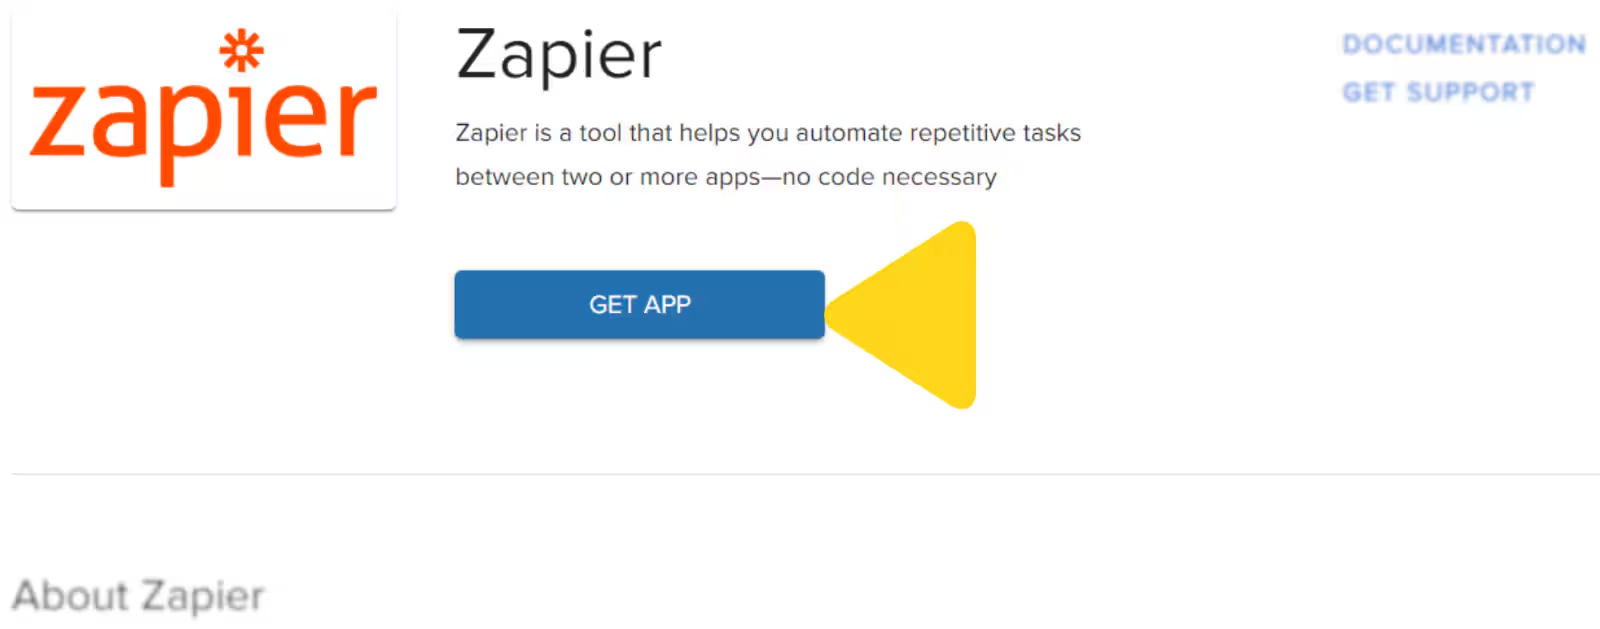 After logging in, you'll see an invitation message explaining that you've been invited to use ShipBob on Zapier.
This completes the integration setup.
After logging in, you'll see an invitation message explaining that you've been invited to use ShipBob on Zapier.
This completes the integration setup.
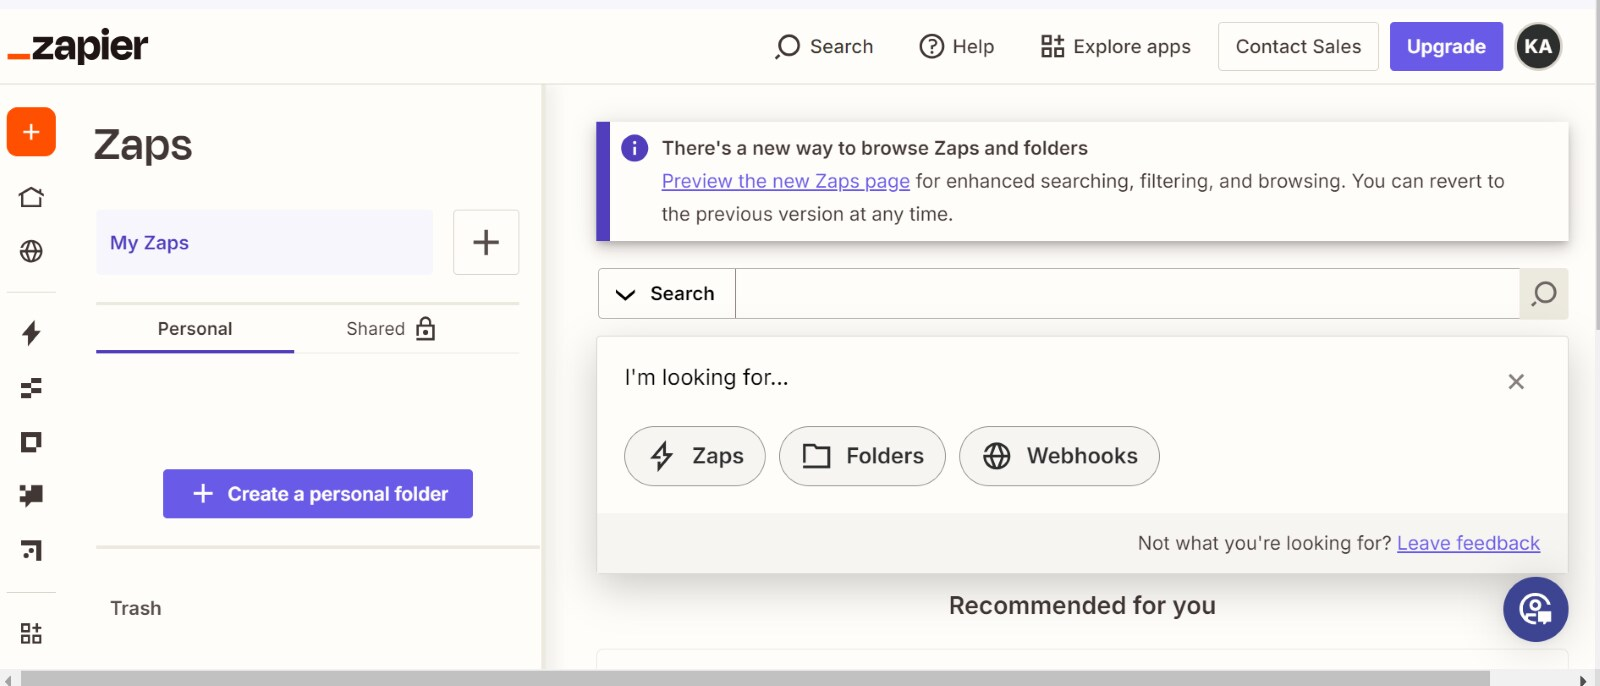
 Once complete, you will be redirected to Zapier where you can begin creating automated workflows.
 ***
## Creating Zaps for Jetpack
To create a Zap in Zapier:
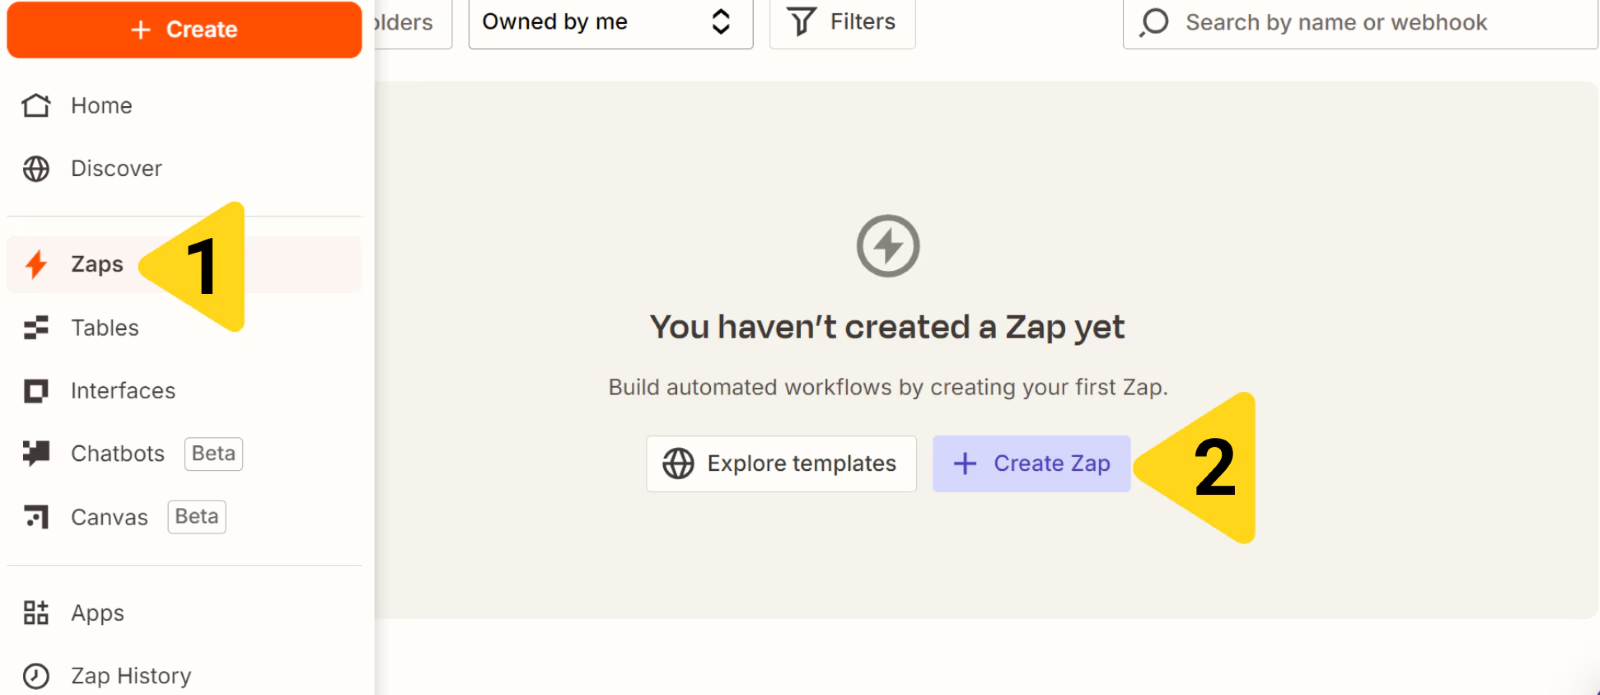
In the Zapier dashboard, click Zaps in the left navigation, then select Create Zap.
***
## Creating Zaps for Jetpack
To create a Zap in Zapier:
In the Zapier dashboard, click Zaps in the left navigation, then select Create Zap.
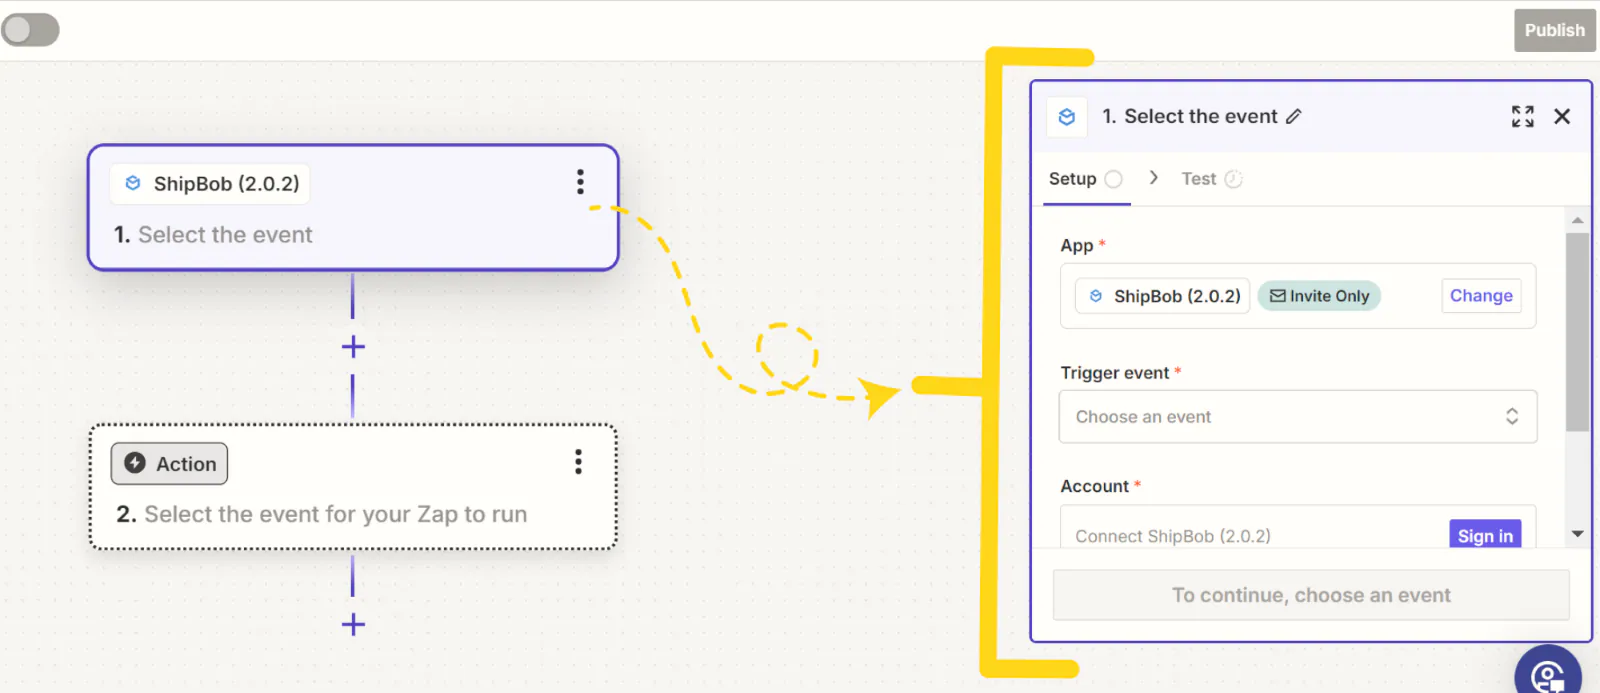
 Choose ShipBob as the app for the trigger, then select the desired trigger event from the drop-down menu.
 Provide a name for the integration channel (e.g., ShipBob-Zapier Integration), then review the permissions Zapier needs to access your Jetpack account.
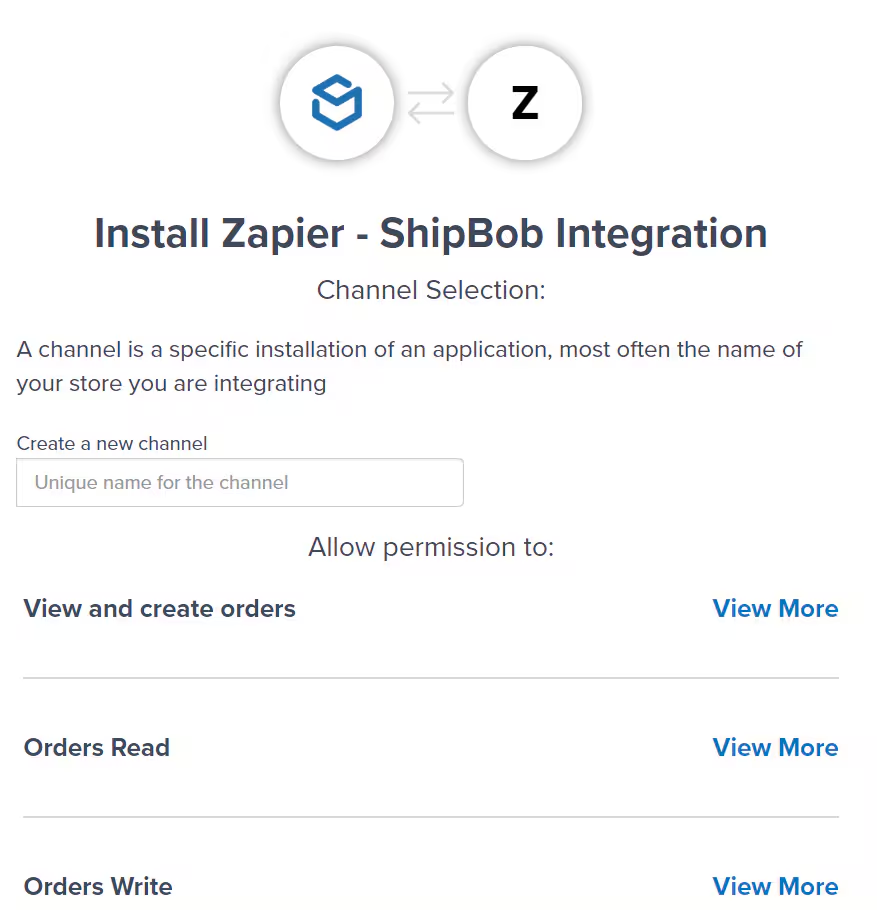 Review the permissions:
* View and create orders
* Orders Read
* Orders Write
* Additional permissions as needed
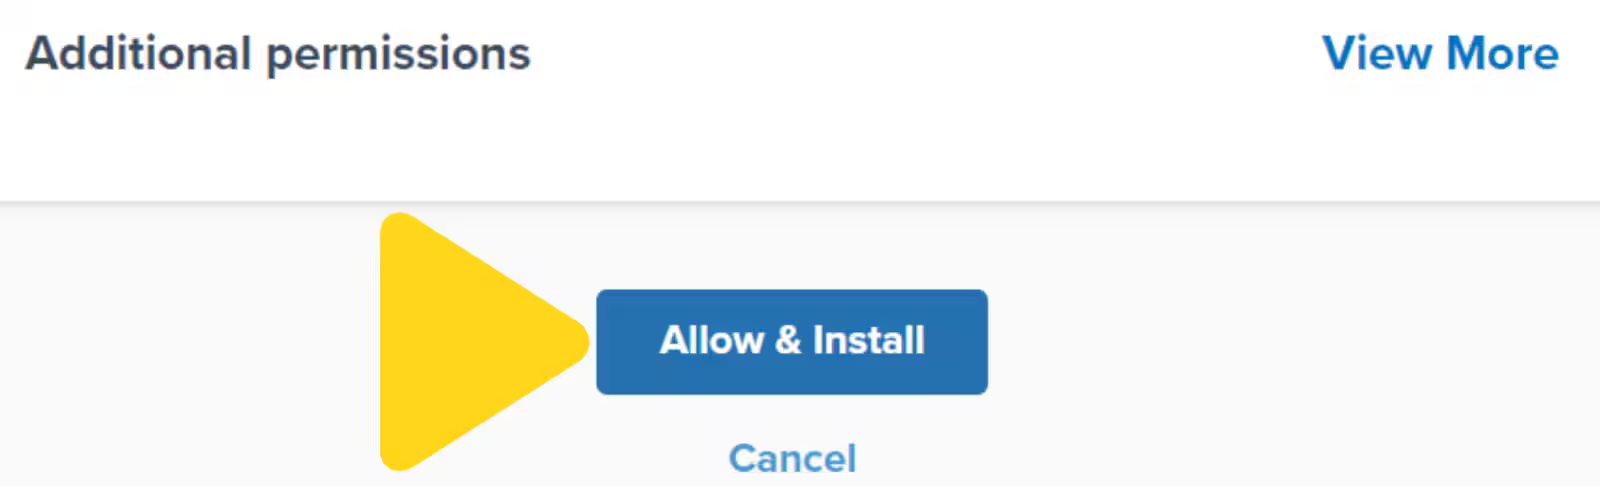
Click Allow & Install to grant access.
Review the permissions:
* View and create orders
* Orders Read
* Orders Write
* Additional permissions as needed
Click Allow & Install to grant access.
 After granting permissions, click Continue, then click Test trigger to verify the connection.
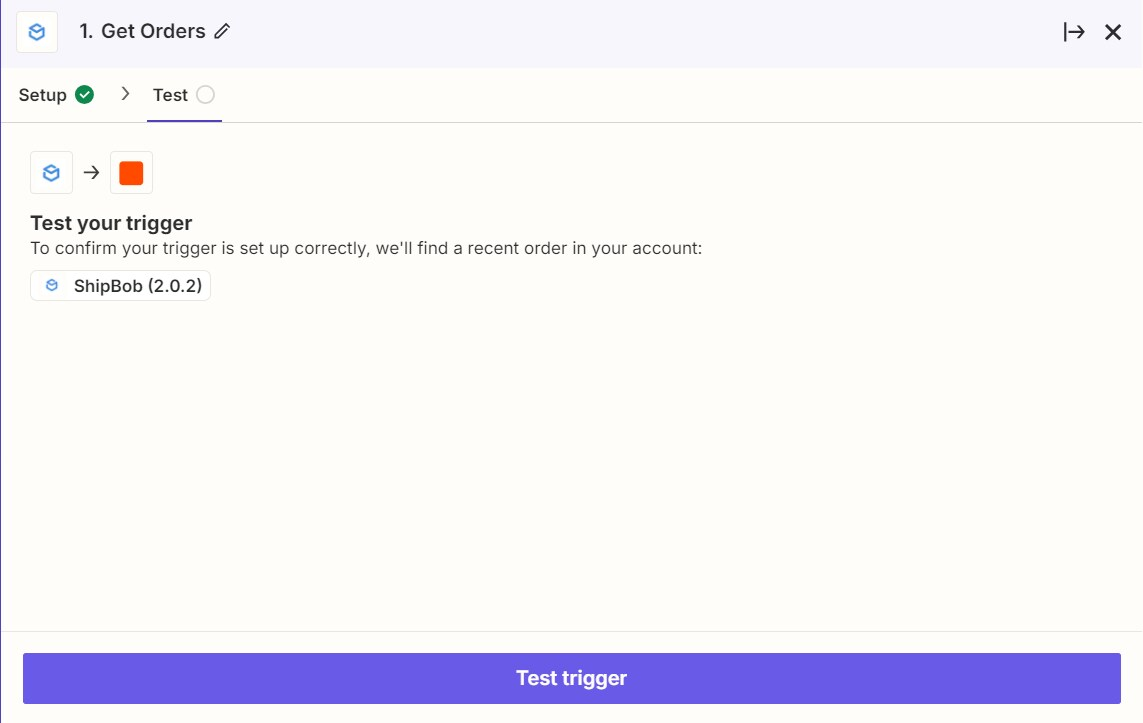 If the trigger test fails, you will be informed of the issue, and you can choose to retest or skip.
Verify the trigger is working correctly by reviewing the sample data displayed, then click Continue.
Tailor the Zap to your company's needs by setting up action events and optional filters for conditional logic.
***
## Additional Zapier Resources
For further assistance with Zapier, refer to these resources:
* [Learn more about setting up Zap triggers](https://help.zapier.com/hc/en-us/articles/8496288188429-Set-up-your-Zap-trigger) - Configure trigger events for your workflows
* [Read additional details about configuring action events](https://help.zapier.com/hc/en-us/articles/8496257774221-Set-up-your-Zap-action) - Set up actions that execute when triggers fire
* [Find out how to apply filters to your Zaps](https://help.zapier.com/hc/en-us/articles/8496276332557-Add-conditions-to-Zaps-with-filters) - Add conditional logic to control when Zaps run
***
## Let's Dive Deeper
Back to the main integrations guide
Connect to 300+ channels through Order Desk
Integrate customer support with fulfillment data
Sync fulfillment events for marketing automation
Another automation platform for connecting your tools
Learn about managing all your integrations
If the trigger test fails, you will be informed of the issue, and you can choose to retest or skip.
Verify the trigger is working correctly by reviewing the sample data displayed, then click Continue.
Tailor the Zap to your company's needs by setting up action events and optional filters for conditional logic.
***
## Additional Zapier Resources
For further assistance with Zapier, refer to these resources:
* [Learn more about setting up Zap triggers](https://help.zapier.com/hc/en-us/articles/8496288188429-Set-up-your-Zap-trigger) - Configure trigger events for your workflows
* [Read additional details about configuring action events](https://help.zapier.com/hc/en-us/articles/8496257774221-Set-up-your-Zap-action) - Set up actions that execute when triggers fire
* [Find out how to apply filters to your Zaps](https://help.zapier.com/hc/en-us/articles/8496276332557-Add-conditions-to-Zaps-with-filters) - Add conditional logic to control when Zaps run
***
## Let's Dive Deeper
Back to the main integrations guide
Connect to 300+ channels through Order Desk
Integrate customer support with fulfillment data
Sync fulfillment events for marketing automation
Another automation platform for connecting your tools
Learn about managing all your integrations

Questions? Contact Jetpack Care.
If you have any questions or run into issues, you can always contact Jetpack Care for help. Our team is always here to assist via Slack, phone, or email!