> ## Documentation Index
> Fetch the complete documentation index at: https://help.jetpack3pl.com/llms.txt
> Use this file to discover all available pages before exploring further.
# Temu Integration
> Connect your Temu Seller Center account to Jetpack to automatically sync orders, tracking, and inventory.
Integrating Temu with Jetpack enables automatic hourly syncing of orders, tracking information, and inventory between your Temu Seller Center account and your Jetpack dashboard. This integration streamlines your Temu operations with automatic order import, tracking updates, and optional inventory syncing.

About ShipBob Integration References
During setup, you'll authorize the "ShipBob" integration in Temu Seller Center. This is expected—Jetpack has licensed ShipBob's integration infrastructure to provide reliable connections. Your data flows seamlessly to your Jetpack dashboard.
***
## Prerequisites
Before connecting your Temu account to Jetpack, ensure you have:
* **Temu Seller Center account** with active products
* **Contribution SKU assigned to all products** you plan to ship with Jetpack
* **Jetpack merchant account** with login credentials and access to your dashboard
Before integrating, review each product you plan to ship with Jetpack and input a Contribution SKU if one is missing. Products without a Contribution SKU will not be created in your Jetpack dashboard once integrated.
***
## Installing the Temu Integration
The integration process requires actions in both Temu Seller Center and your Jetpack dashboard. Follow these steps to complete the connection:
### Step 1: Generate Access Token in Temu Seller Center
In Temu Seller Center, review each product you plan to ship with Jetpack. If any products are missing a Contribution SKU, add one now.
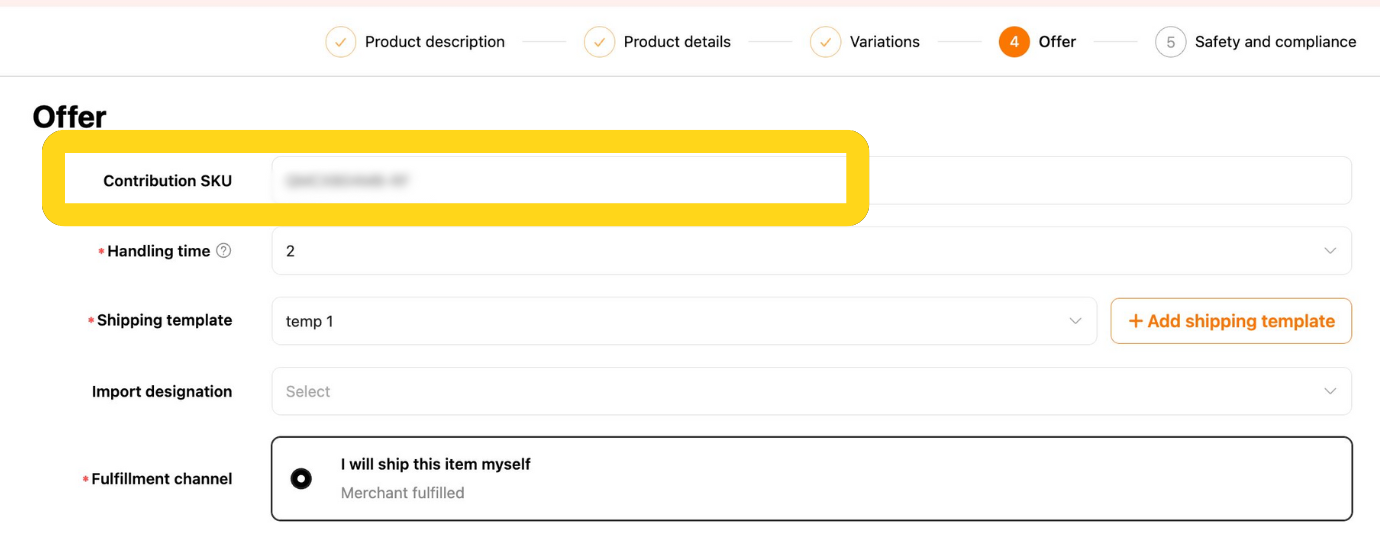 Products without a Contribution SKU will not sync to your Jetpack dashboard once the integration is active.
Additional menu options will appear.
Products without a Contribution SKU will not sync to your Jetpack dashboard once the integration is active.
Additional menu options will appear.
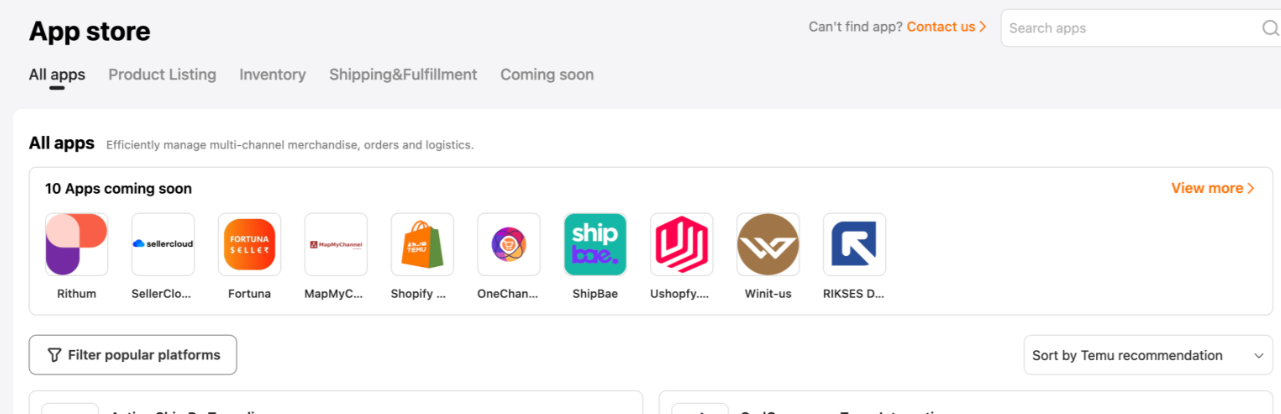
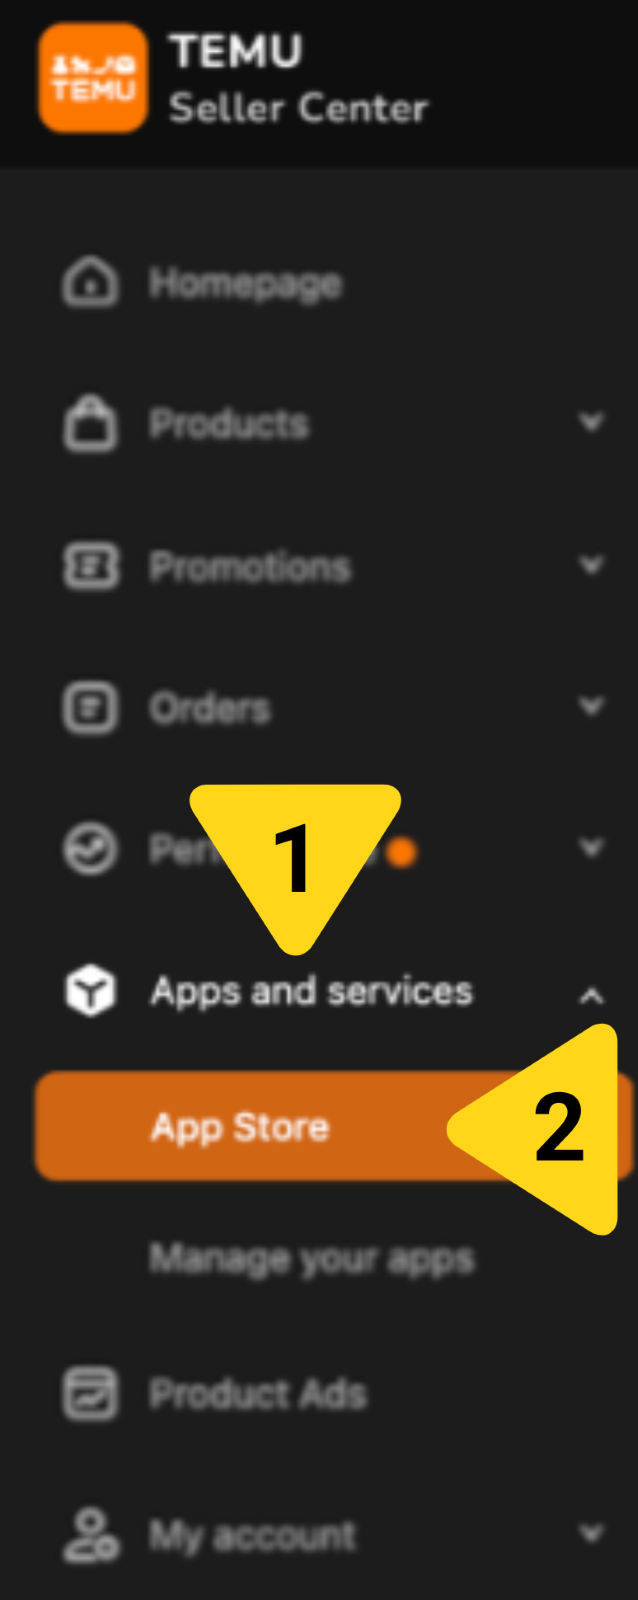 You will be redirected to the App store page.
You can do this by scrolling through the page or using the search bar.
You will be redirected to the App store page.
You can do this by scrolling through the page or using the search bar.
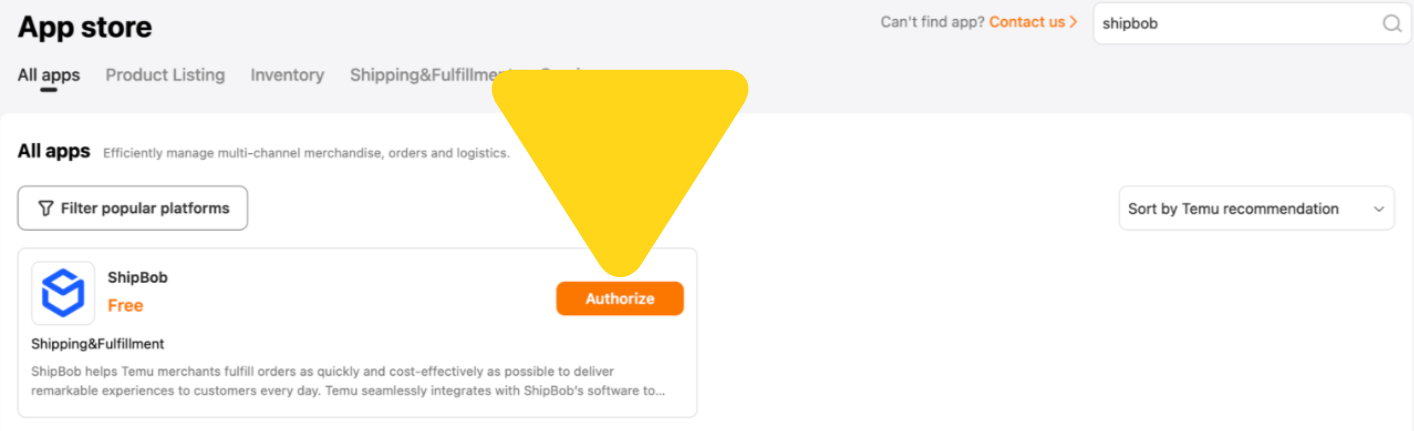
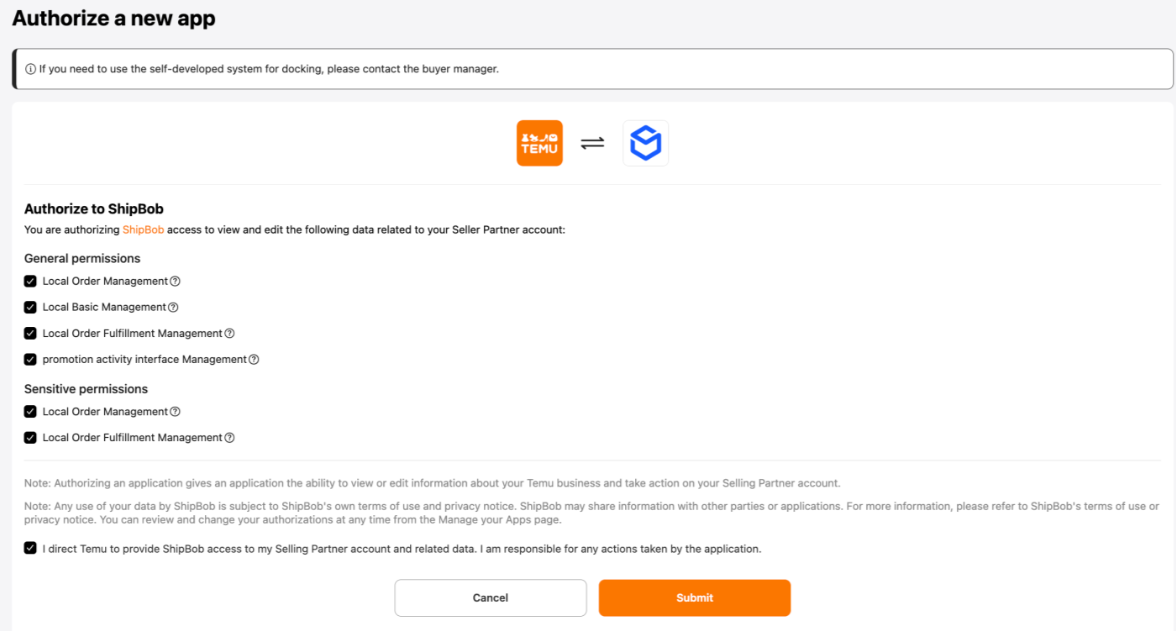
 You will be redirected to the Authorize a new app page.
 The authorization page displays the specific permissions ShipBob requests to access your Temu Seller Partner account.
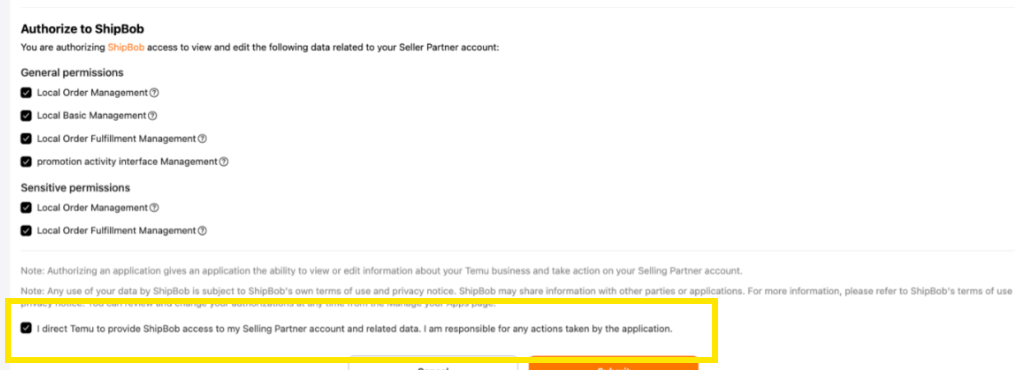 Check the box next to: "I direct Temu to provide ShipBob access to my Selling Partner account and related data. I am responsible for any action taken by the application."
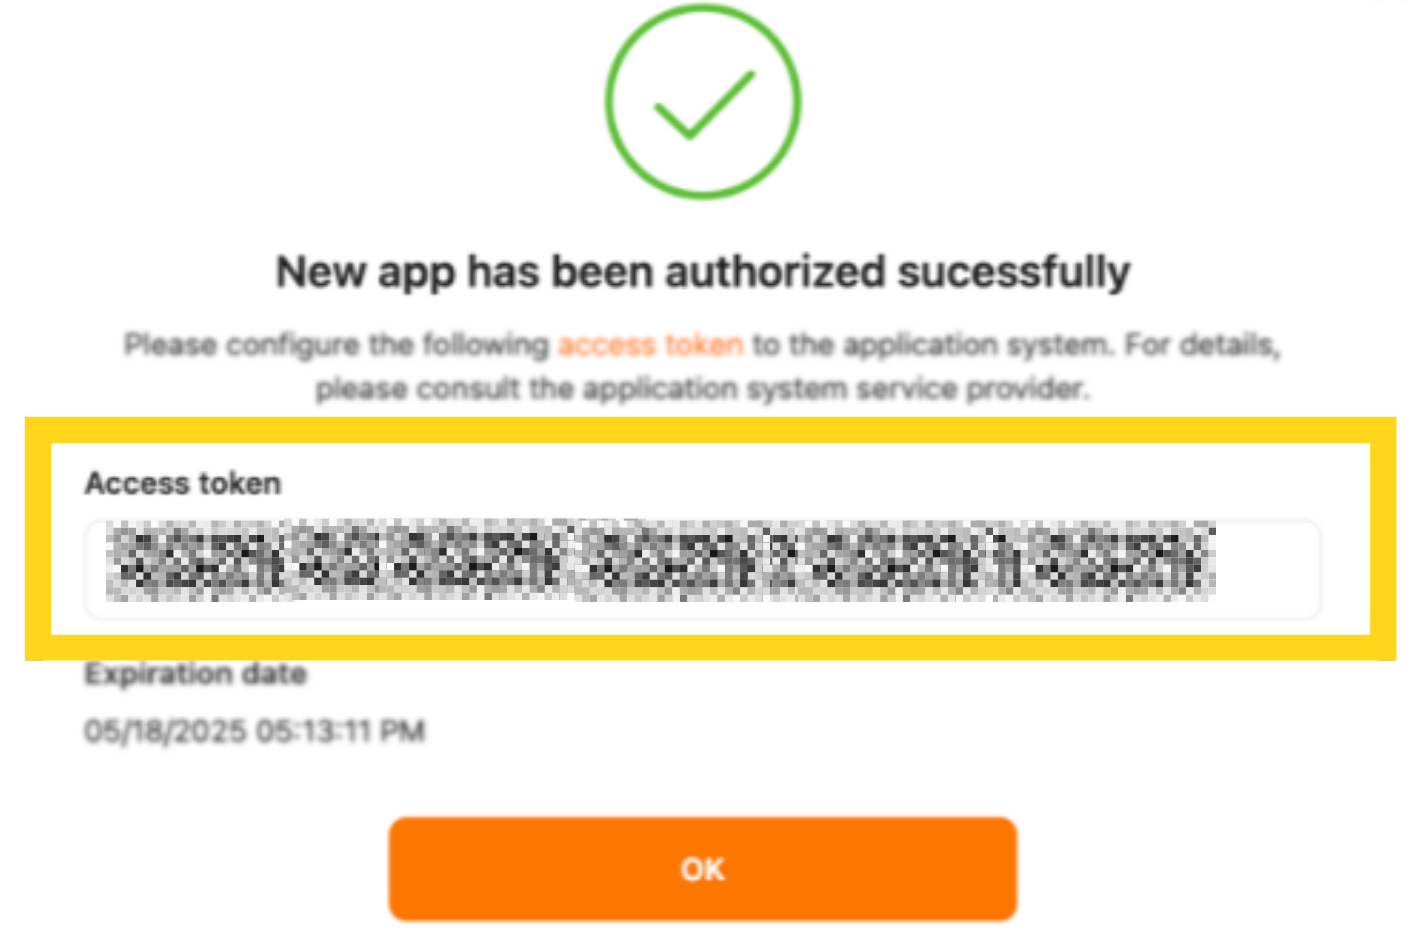
Then click **Submit**. A pop-up window will appear displaying your Access Token.
Check the box next to: "I direct Temu to provide ShipBob access to my Selling Partner account and related data. I am responsible for any action taken by the application."
Then click **Submit**. A pop-up window will appear displaying your Access Token.
 Copy this token and store it securely—you'll need it in the next step to complete the connection in your Jetpack dashboard.
 ### Step 2: Connect in Jetpack Dashboard
Additional menu options will appear.
### Step 2: Connect in Jetpack Dashboard
Additional menu options will appear.
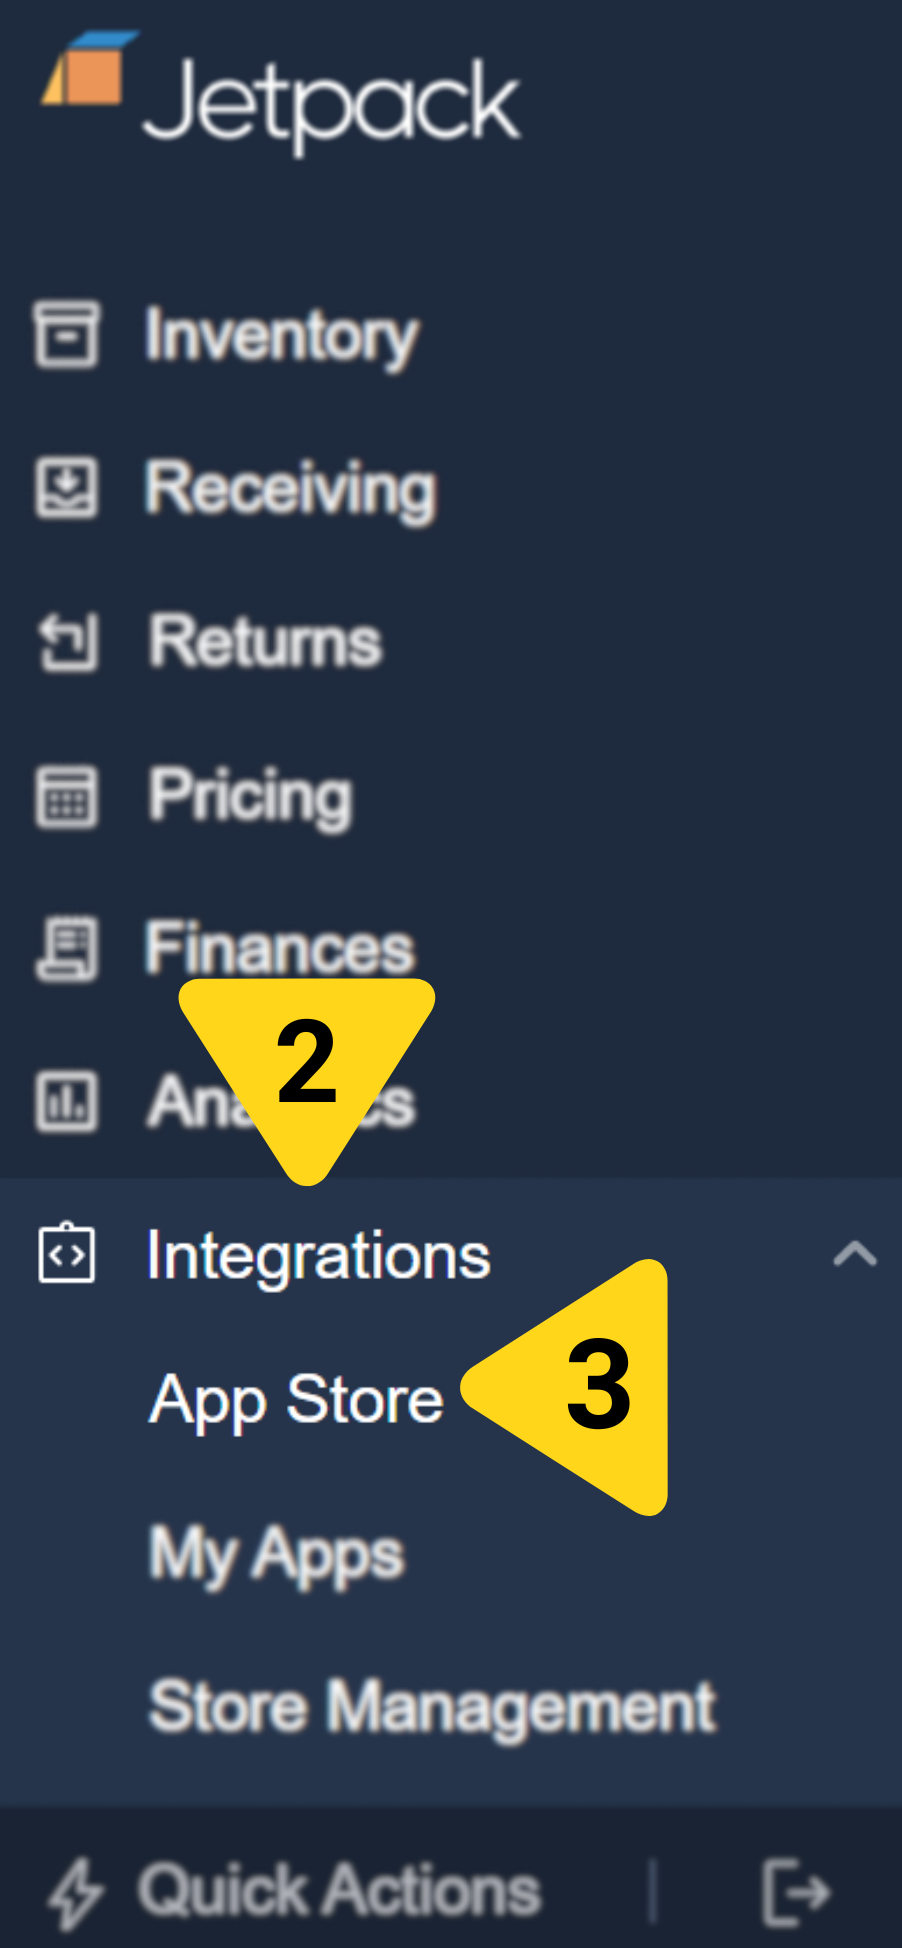 You will be redirected to the Apps & Integrations page.
You can locate Temu using the search bar or by scrolling through the page. Click the Temu tile to view the app details.
You will be redirected to the Apps & Integrations page.
You can locate Temu using the search bar or by scrolling through the page. Click the Temu tile to view the app details.
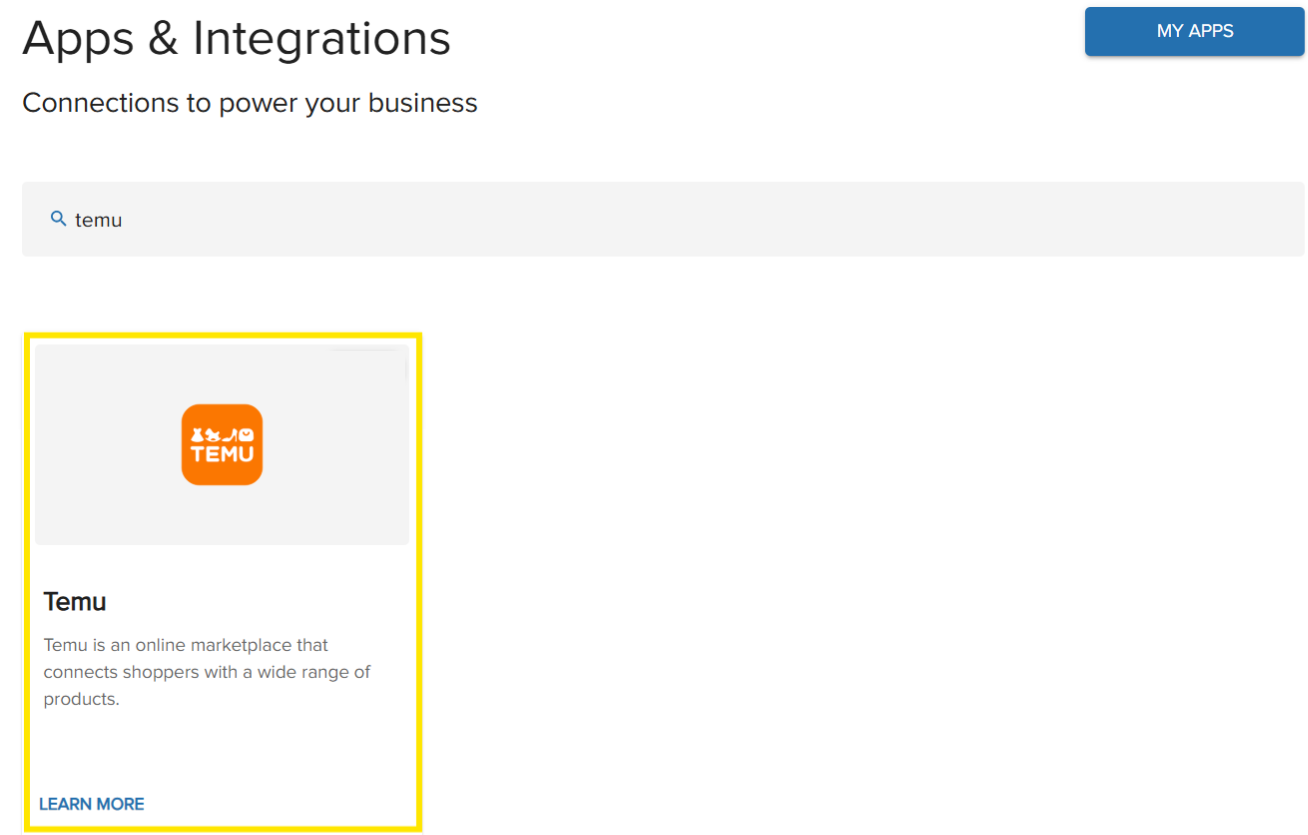 You will be redirected to the Temu integration page.
A pop-up window will appear prompting you to enter your Temu Access Token.
Complete the Temu Access Token field by pasting the token you retrieved from your Temu Seller Center in Step 1.
Once connected, your Temu integration will be active and ready to configure.
***
## Configuring Your Temu Integration Settings
After successfully connecting Temu, you can configure which features sync between Temu and Jetpack. All features are controlled by toggle switches in the Configuration tab.
### Accessing Integration Settings
From Integrations > My Apps, click **Launch** next to the Temu tile.
You will be redirected to the Temu integration page.
A pop-up window will appear prompting you to enter your Temu Access Token.
Complete the Temu Access Token field by pasting the token you retrieved from your Temu Seller Center in Step 1.
Once connected, your Temu integration will be active and ready to configure.
***
## Configuring Your Temu Integration Settings
After successfully connecting Temu, you can configure which features sync between Temu and Jetpack. All features are controlled by toggle switches in the Configuration tab.
### Accessing Integration Settings
From Integrations > My Apps, click **Launch** next to the Temu tile.
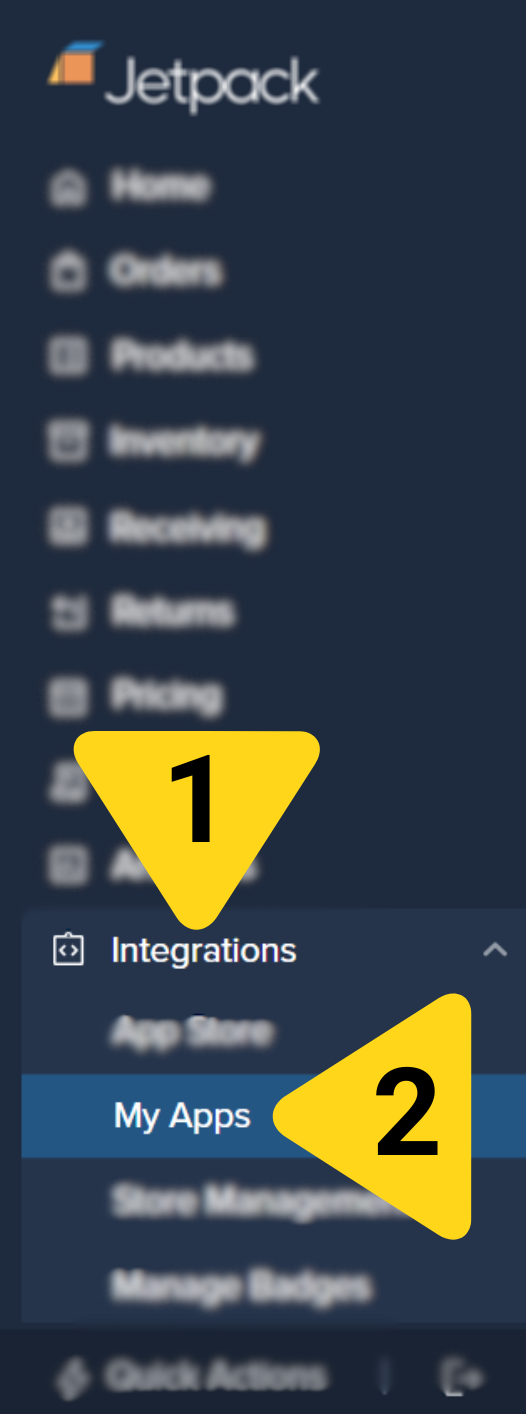 A pop-up window will appear.
You'll see three sync options that can be enabled or disabled.
### Available Sync Features
Enable the following features by clicking the toggle icon (blue when enabled, gray when disabled):
#### Sync Orders
Enable this feature to automatically allow new orders to sync from Temu to Jetpack every hour.
**What syncs:**
* Customer name and shipping address
* Products and quantities ordered
* Order number (mapped to Jetpack Reference ID)
**Sync frequency:** Every hour
#### Sync Tracking
Enable this feature to allow carrier tracking information to sync to Temu once Jetpack fulfills an order.
**What syncs:**
* Carrier name
* Tracking number
* Fulfillment confirmation
**When it syncs:** Immediately after Jetpack ships the order
#### Sync Inventory
Enable this feature to automatically sync Sellable quantities to Temu every hour.
**Important Notes:**
* When this feature is enabled, Jetpack's dashboard will only sync quantities for products that exist in Temu. Products in your Jetpack dashboard that are not on Temu (e.g., a product you sell exclusively through a different retailer) will not sync through or be impacted by this integration.
* **Sellable quantity = Fulfillable quantity - Exception quantity**
* Your Sellable, Fulfillable, and Exception quantities can be viewed from the Inventory Status page in your Jetpack dashboard
**Sync frequency:** Every hour
**Fulfillable quantity:** Total inventory available across all fulfillment centers
**Exception quantity:** Inventory flagged for quality issues or holds
**Sellable quantity:** The amount synced to Temu (Fulfillable minus Exception)
***
## Uninstalling the Temu Integration
If you need to disconnect your Temu integration:
Additional menu options will appear.
You will be redirected to the My Apps page.
You will be redirected to the Temu app page.
You will be redirected to the store management page for Temu.
A pop-up window will appear.
You'll see three sync options that can be enabled or disabled.
### Available Sync Features
Enable the following features by clicking the toggle icon (blue when enabled, gray when disabled):
#### Sync Orders
Enable this feature to automatically allow new orders to sync from Temu to Jetpack every hour.
**What syncs:**
* Customer name and shipping address
* Products and quantities ordered
* Order number (mapped to Jetpack Reference ID)
**Sync frequency:** Every hour
#### Sync Tracking
Enable this feature to allow carrier tracking information to sync to Temu once Jetpack fulfills an order.
**What syncs:**
* Carrier name
* Tracking number
* Fulfillment confirmation
**When it syncs:** Immediately after Jetpack ships the order
#### Sync Inventory
Enable this feature to automatically sync Sellable quantities to Temu every hour.
**Important Notes:**
* When this feature is enabled, Jetpack's dashboard will only sync quantities for products that exist in Temu. Products in your Jetpack dashboard that are not on Temu (e.g., a product you sell exclusively through a different retailer) will not sync through or be impacted by this integration.
* **Sellable quantity = Fulfillable quantity - Exception quantity**
* Your Sellable, Fulfillable, and Exception quantities can be viewed from the Inventory Status page in your Jetpack dashboard
**Sync frequency:** Every hour
**Fulfillable quantity:** Total inventory available across all fulfillment centers
**Exception quantity:** Inventory flagged for quality issues or holds
**Sellable quantity:** The amount synced to Temu (Fulfillable minus Exception)
***
## Uninstalling the Temu Integration
If you need to disconnect your Temu integration:
Additional menu options will appear.
You will be redirected to the My Apps page.
You will be redirected to the Temu app page.
You will be redirected to the store management page for Temu.
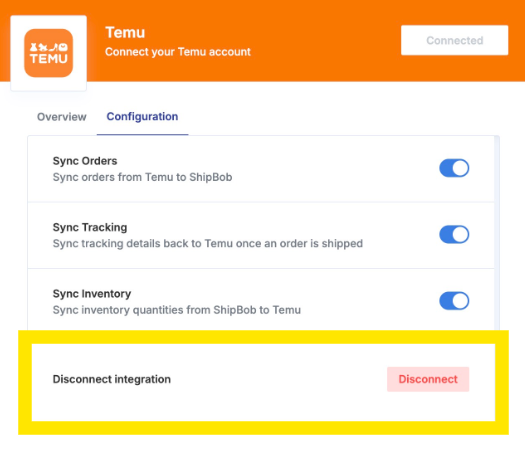
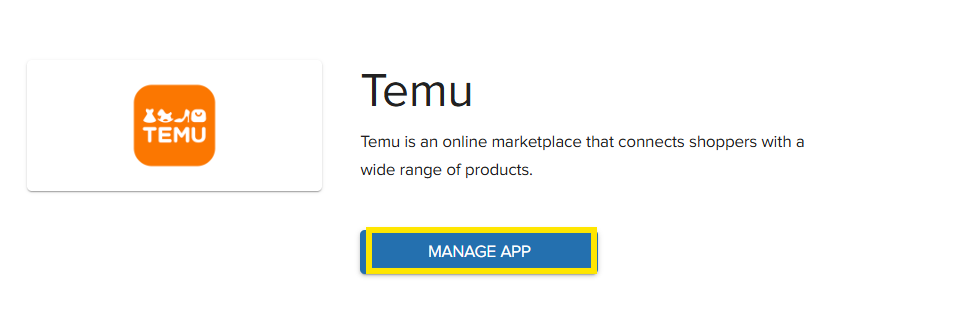 A pop-up window will appear with the Configuration tab open.
 Located next to "Disconnect integration" in the Configuration tab. Your Temu integration will be disconnected, and syncing will stop immediately.
 ***
## Let's Dive Deeper
Back to the main integrations guide
Set up your product catalog
Understand how orders flow into Jetpack
Inventory management and tracking
Manage and troubleshoot integrations
Track and manage your orders
***
## Let's Dive Deeper
Back to the main integrations guide
Set up your product catalog
Understand how orders flow into Jetpack
Inventory management and tracking
Manage and troubleshoot integrations
Track and manage your orders

Questions? Contact Jetpack Care.
If you have any questions or run into issues, you can always contact Jetpack Care for help. Our team is always here to assist via Slack, phone, or email!